I have been dying to buy new lamps for my bedroom for a while now, and I have been wanting these lamps from Target.

But at $34 a piece I knew I could do better! I came across a tutorial by Crystal, over at The Weathered Fox, where she took some brass thrift store candlesticks and gave them a washed wood finish! As soon as I saw it, I just knew I could use this to makeover some of my existing lamps.
Here is what my lamps looked like before I transformed them.
Disclosure: This post may contain affiliate links, which means we may receive a commission if you click a link and purchase something. Please check out our disclosure policy for more details.

Bright green, shiny, not coastal or farmhouse. They just had to go!
Here is what I used:
–FolkArt Home Decor Antiquing Wax
-Blue Painter’s Tape
-Plastic Grocery Bag
The first thing I did was tape over the light socket with painter’s tape, then I gathered the cord up and stuffed it into the grocery bag. I tied off the ends then, for good measure, I taped it off with painter’s tape.

Next I sprayed a couple light coats of the white spray paint on the lamp until I had full coverage, then I let it dry for a full 24 hours.

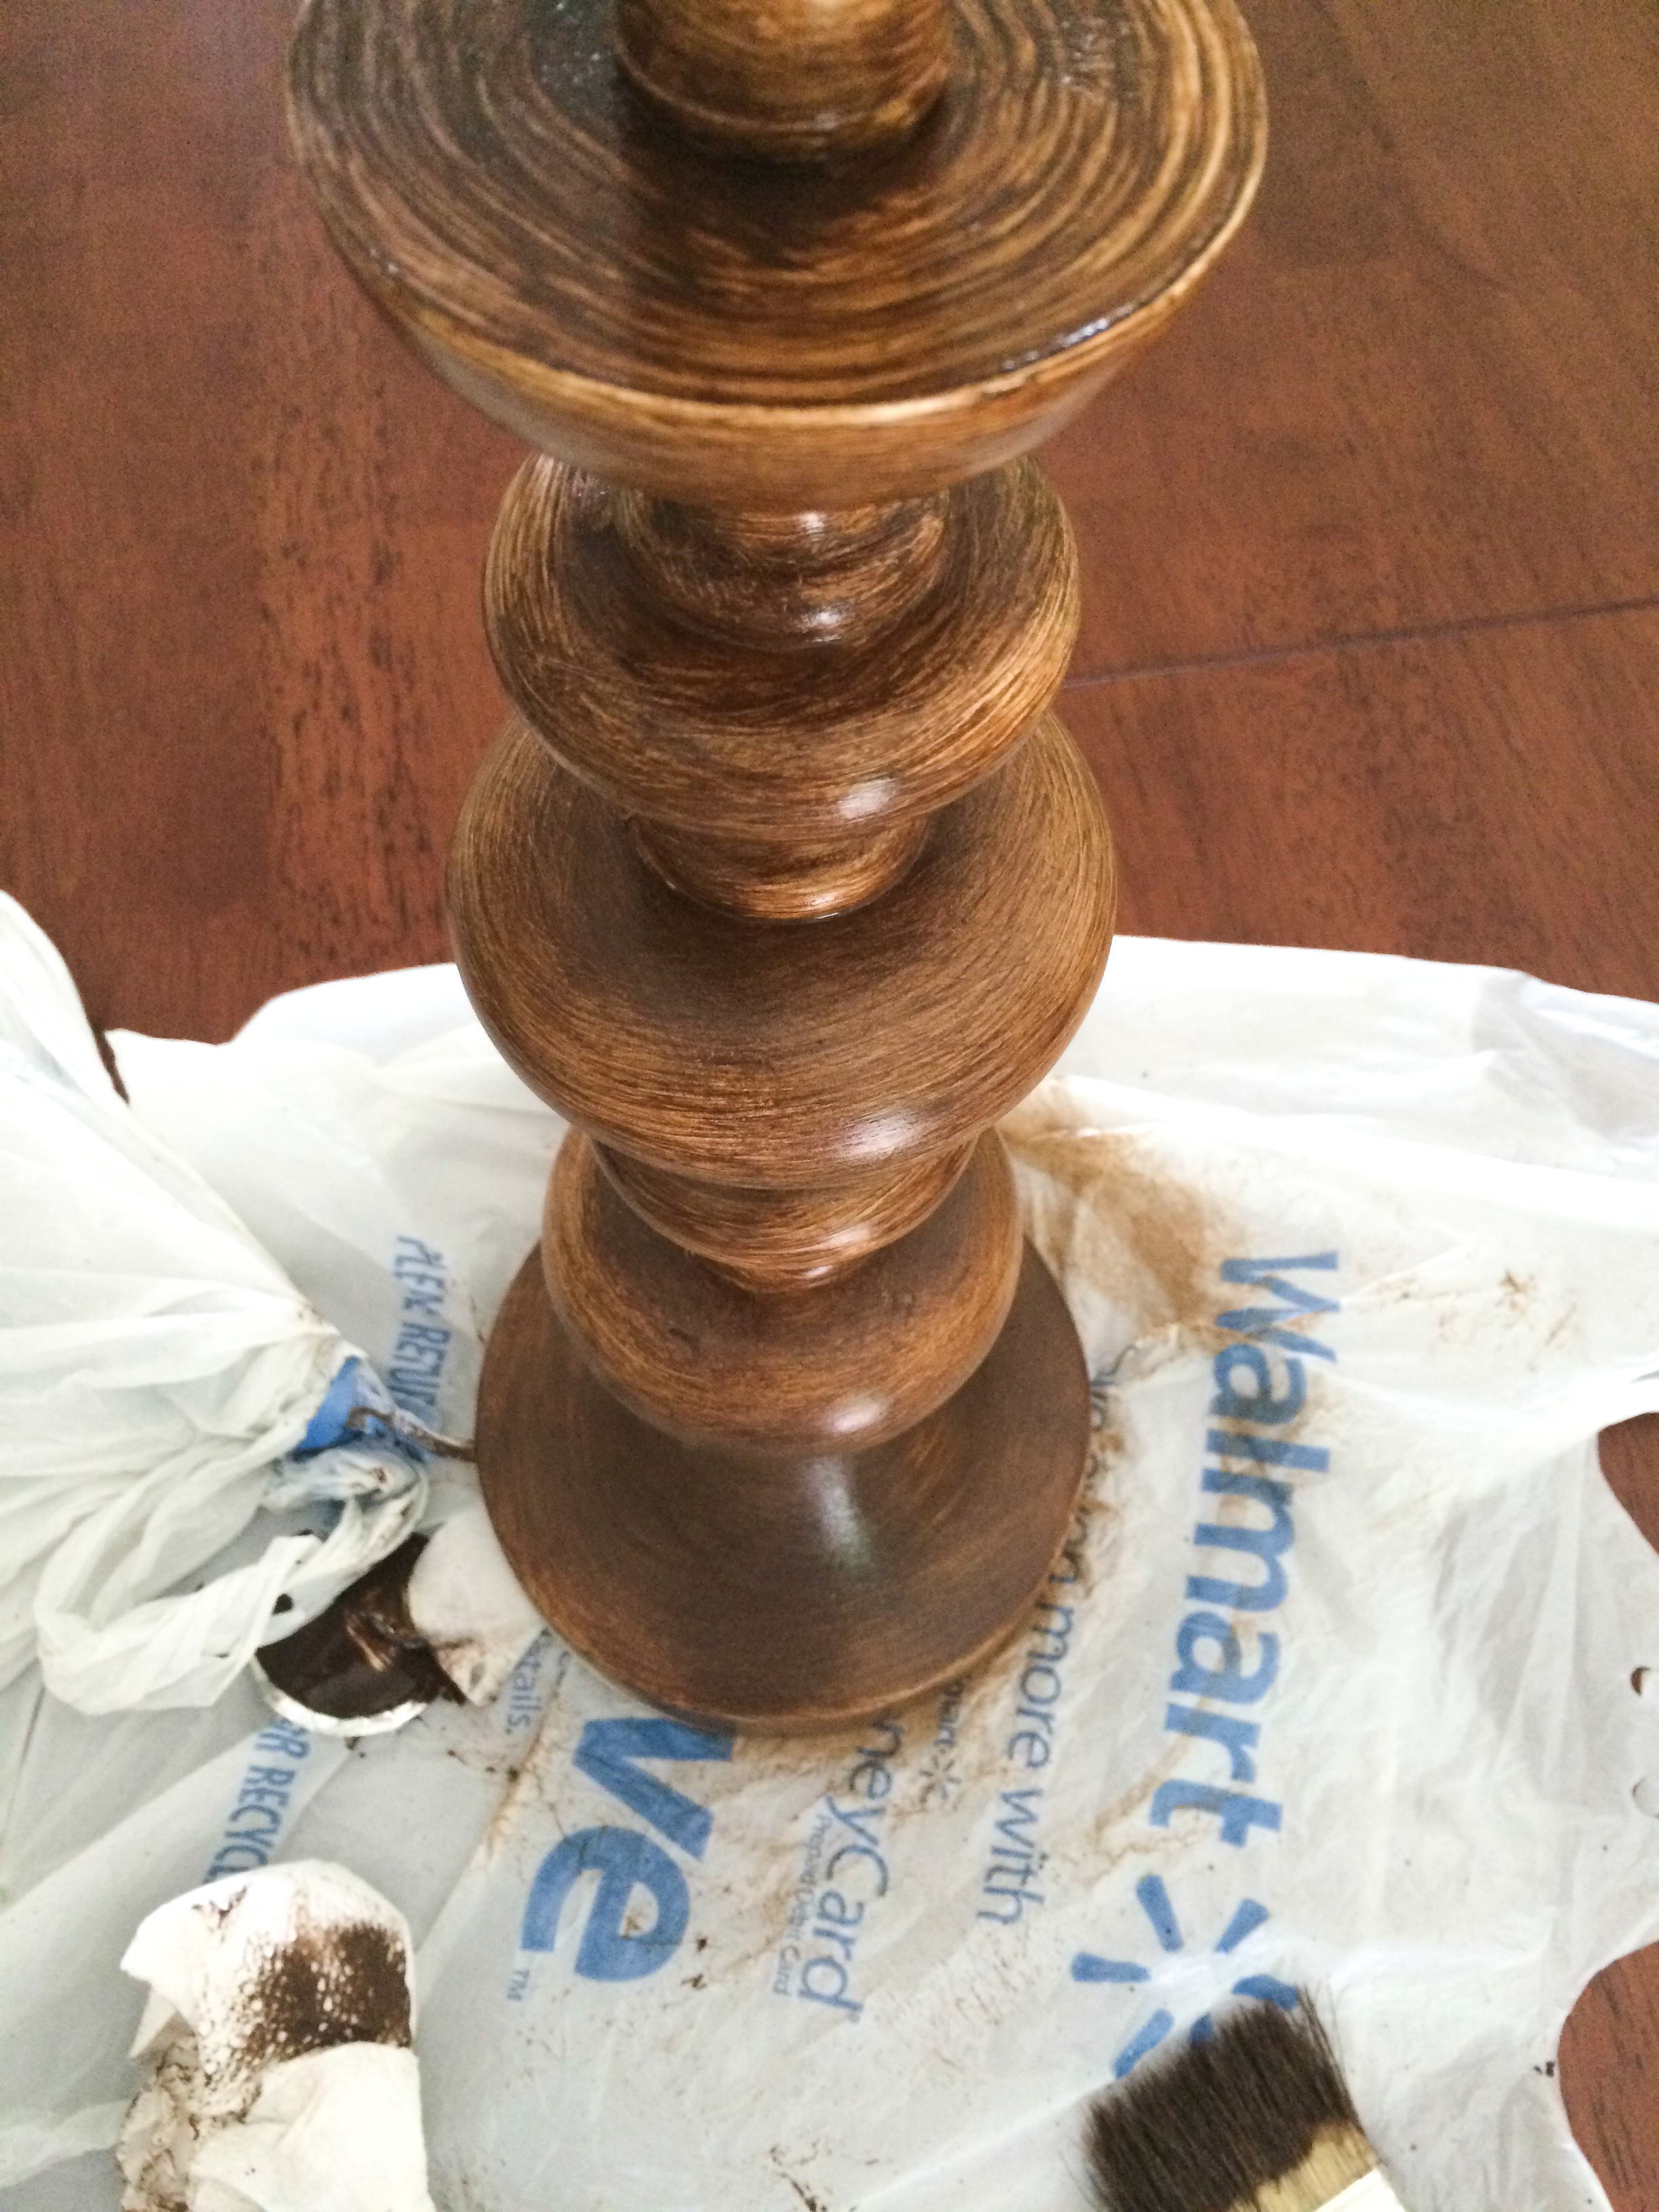
Next I added the antique wax. I lightly brushed it on with one of my chip brushes. This is what it looked like after I finished the antique wax.

At this point I could have been done, but I really wanted to tone down the orange-y brown finish. So I waited another 24 hours, then I lightly brushed on the white wax. I used paper towel to gently rub some away if I got too much in one spot. This is what really took it up a notch for me, and got the finish much closer to the Target lamp look that I was going for!! Yay! Here are the results!


What do you think? Do you think it makes a pretty good knock-off?
If you decide to redo something using this technique I would love to see what you did!
Babyfoote says
That looks SO good. What a transformation! How much do you think it all cost? Obviously you can reuse the majority of items on other projects, but I’d be interested to hear how much you saved (or not!)
Lauren says
That’s a great question! I spent $1 on the spray paint, and each of the waxes were about $10 for an 8oz. jar, and I covered a lamp I already owned. So total spent for both lamps was $21! Also like you said, there was plenty left over in each jar of wax for me to use them many more times!
Jaclyn | One Thousand Oaks says
These lamps are so adorable! What a great job! I think I have all of those items on hand and some lamps to try it out on!
-Jaclyn
Lauren says
If you try it out Jaclyn I would love to see the results! It was way easier than I thought it would be to make them! 🙂
Carol ("Mimi") says
This came out looking great! And, you did save quite a bit compared to what the Target lamps would have cost. Thanks for the step-by-step instructions.
Lauren says
You are so welcome, Carol! Glad to share!
Sam says
This looks amazing! Can’t believe the difference in the before and after!
Lauren says
Thanks Sam!! It was so easy and inexpensive but it made a huge difference!
Jessica says
It’s beautiful. I’m going to add it to my list of things to try!
Lauren says
Thank you Jessica! I would love to see what you do!!
Ola says
This is beautiful! My husband’s family recently gave me the go ahead to decorate one room in the home. It needs a TON of work. This would be the perfect project for it.
Lauren says
How exciting!! It’s always fun to get to decorate someone else’s home!
Sara @ finditfixitorbuildit.com says
Love it! I’m going to try it with some of the supplies I already have…wondering if regular dark wax and white wax will work, since I don’t have the antiquing kind.
Lauren says
I’m not positive on this, but I think dark wax and antiquing wax might be one in the same, brown wax.
Alisha says
I just tried this and I’m obsessed! I can’t wait for them to dry. Now to find the perfect shades for them. Thank you so much for the inspiration!
Lauren says
Aww yay, Alisha! I’m sure they looks amazing!!
Kate says
Hi, I did this technique on some lamps and I believe I over did it with the white wax… it’s startibg to look a light brown everywhere and no depth. Did you just put white here and there? Is that where I went wrong? Also, can I just add brown to some places and 24 hours later add a bit of white again? Let me know
Lauren says
Hi Kate!
Make sure when you are doing the white that you are dry brushing it on. Meaning you will want to barely have any of the white wax on your brush when you go to brush it on the lamp. I would try dry brushing some of the brown wax back over the white wax and see if that helps. Then when that dries if you feel like it needs a little more white go back in and dry brush a bit more white back on. Hope this helps! 🙂
Martina says
You remind me so much of me! I refuse to spend money on something I can DIY and most of the time it turns out just as good if not better. Great job on this lamp!