I’m so excited to have my sweet friend Diana from Dahlias and Dimes here today to share with you about how she and her husband took their pantry from dysfunctional and outdated, to practical and aesthetically pleasing! I have created some FREE printable pantry labels to help you get started on your own pantry organization you can find them here!
Our Pantry Solution
Summer 2016 was spent completely remodeling our outdated, poorly organized kitchen. You can check out the entire before process here and the reveal here.

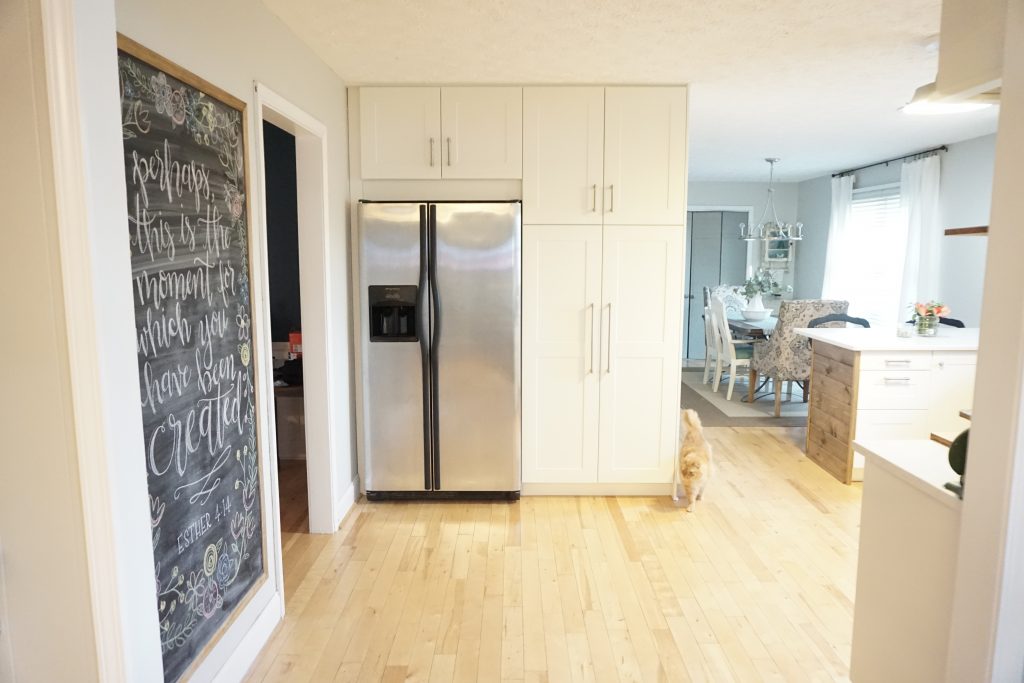
Though I’m completely overjoyed with our new cabinets and counter tops, the most practical change was to our pantry. It’s the one area in our kitchen where the footprint was altered.

Before our renovation, we had a decent pantry that a lot of people would love to have, but it left a lot to be desired. It served its purpose, but I knew it could be something that not only was more functional but more pleasing to the eye as well. It had a narrow door, which made it difficult to access the sides of the pantry. There were some dark, cobwebbed-covered corners that I didn’t even see until the walls came down.

We completely tore out our existing pantry and installed 2-18” floor-to-ceiling IKEA Sektion high cabinets and an over-the-fridge cabinet. Each cabinet has two doors. The upper cabinet has the option to install two shelves, and the lower cabinet has five soft close drawers. It’s been more than enough space for us and has given us built-in, easy to access organizational features that our old pantry didn’t come close to offering. It also eliminates those forgotten corners filled with cobwebs!

Organizing Our Pantry
Whether you have pantry drawers or shelves, there are three things to consider before organizing your pantry.

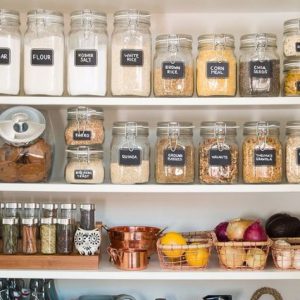
Source Home Edit
1. Sort by Category
The first on your checklist before placing items in your pantry is sort them by category: baking supplies, snacks, canned goods, spices, vegetables, grains, breakfast items, etc. This system takes out the guess work and gives your family a go-to place when looking for something specific. It’s also helpful when preparing your grocery list. For example, when my canned good drawer is looking low, it’s easy to take a quick inventory before I go to the store.

Disclosure: This post contains affiliate links, which means I may receive a commission if you click a link and purchase something. Please check out our disclosure policy for more details.
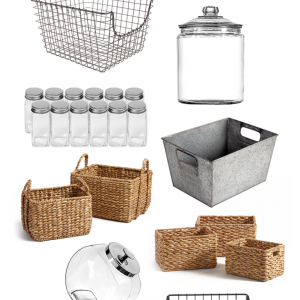
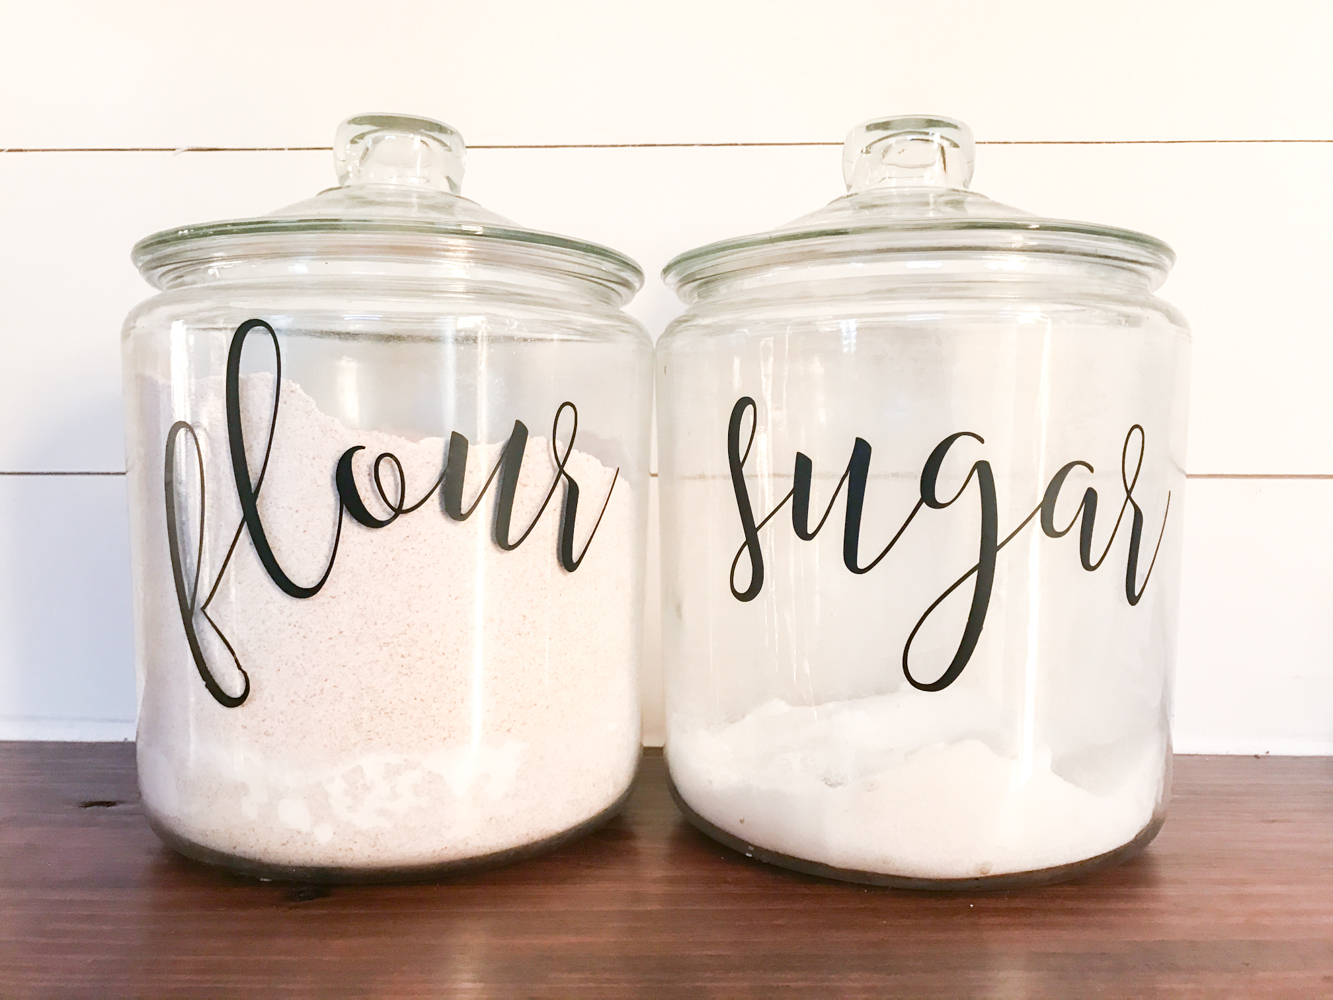
There are several ways to label or group your like items. Consider using clear containers, baskets, can and spice shelves, shelf labels, or label your drawers with printables and contact paper like I did*.
Two affordable options that I love are baskets from the Dollar Tree and these shelf labels from IKEA.

2. Consider the Placement of High Use Products

Once you have an idea of how you will group your items, think about the most convenient space for each group. Put the most used, day-to-day items in the easiest to access spot. This will typically be the shelf or drawer that is at eye level. If you have kids, you may want to consider having a separate space for their snacks on their eye level so that they don’t have to always bring out the step stool or knock over your grandmother’s antique mason jar of homemade apple butter. Sad day!
3. Give Every Space a Purpose
To tie the first two organizational tips together, you want to make sure every inch of your pantry serves a purpose. Having too much space in a kitchen is rarely a factor for anyone. We’re all looking for more ways to better utilize our space without making our kitchen feel cramped or unorganized.
After placing day-to-day items in easy to access areas, place lesser used items like spices, baking supplies, and pantry staples (stock, oils, flour, etc.) in the higher or lower spaces. This could mean using vertical space or wall space with organizational solutions like this and this.

If you find that you still have a corner on a shelf or an extra drawer, either store it with disposable plates and cups, storage bags, foil, or cling wrap, or take it as an opportunity to stock up on some non-perishables.
Organization is one of those things that doesn’t necessarily cost a lot of money, but it takes intentionality, time, and maintenance. It’s one of the many ways to free up head space and allow your home to run more smoothly, so it’s worth the work and time on the front end.
Do you have a creative pantry solution that works for you and your family?
* If you want to know how I made my drawer labels, head on over to my site to see a quick tutorial.
If you missed week 1 of our Spring Cleaning & Organization series on “must-have cleaning essentials” you can find that here. Thank you Diana for sharing your insights on getting a more organized pantry! Mine is in serious need of a overhaul!! Don’t forget to download your FREE printable pantry labels!


Adriana Mancuso says
Scuse me, I am a Ultimate Homemaking Bundle 2018 owner and I keep potatos and onions in my pantry. I would like to label them. Can you help me, please?
Thank you
My best regards
Adriana Mancuso
Lauren says
Hi Adriana! Please email me hello@gatherandflourish.com and I would be happy to help you with those additional labels!
Thanks,
Lauren