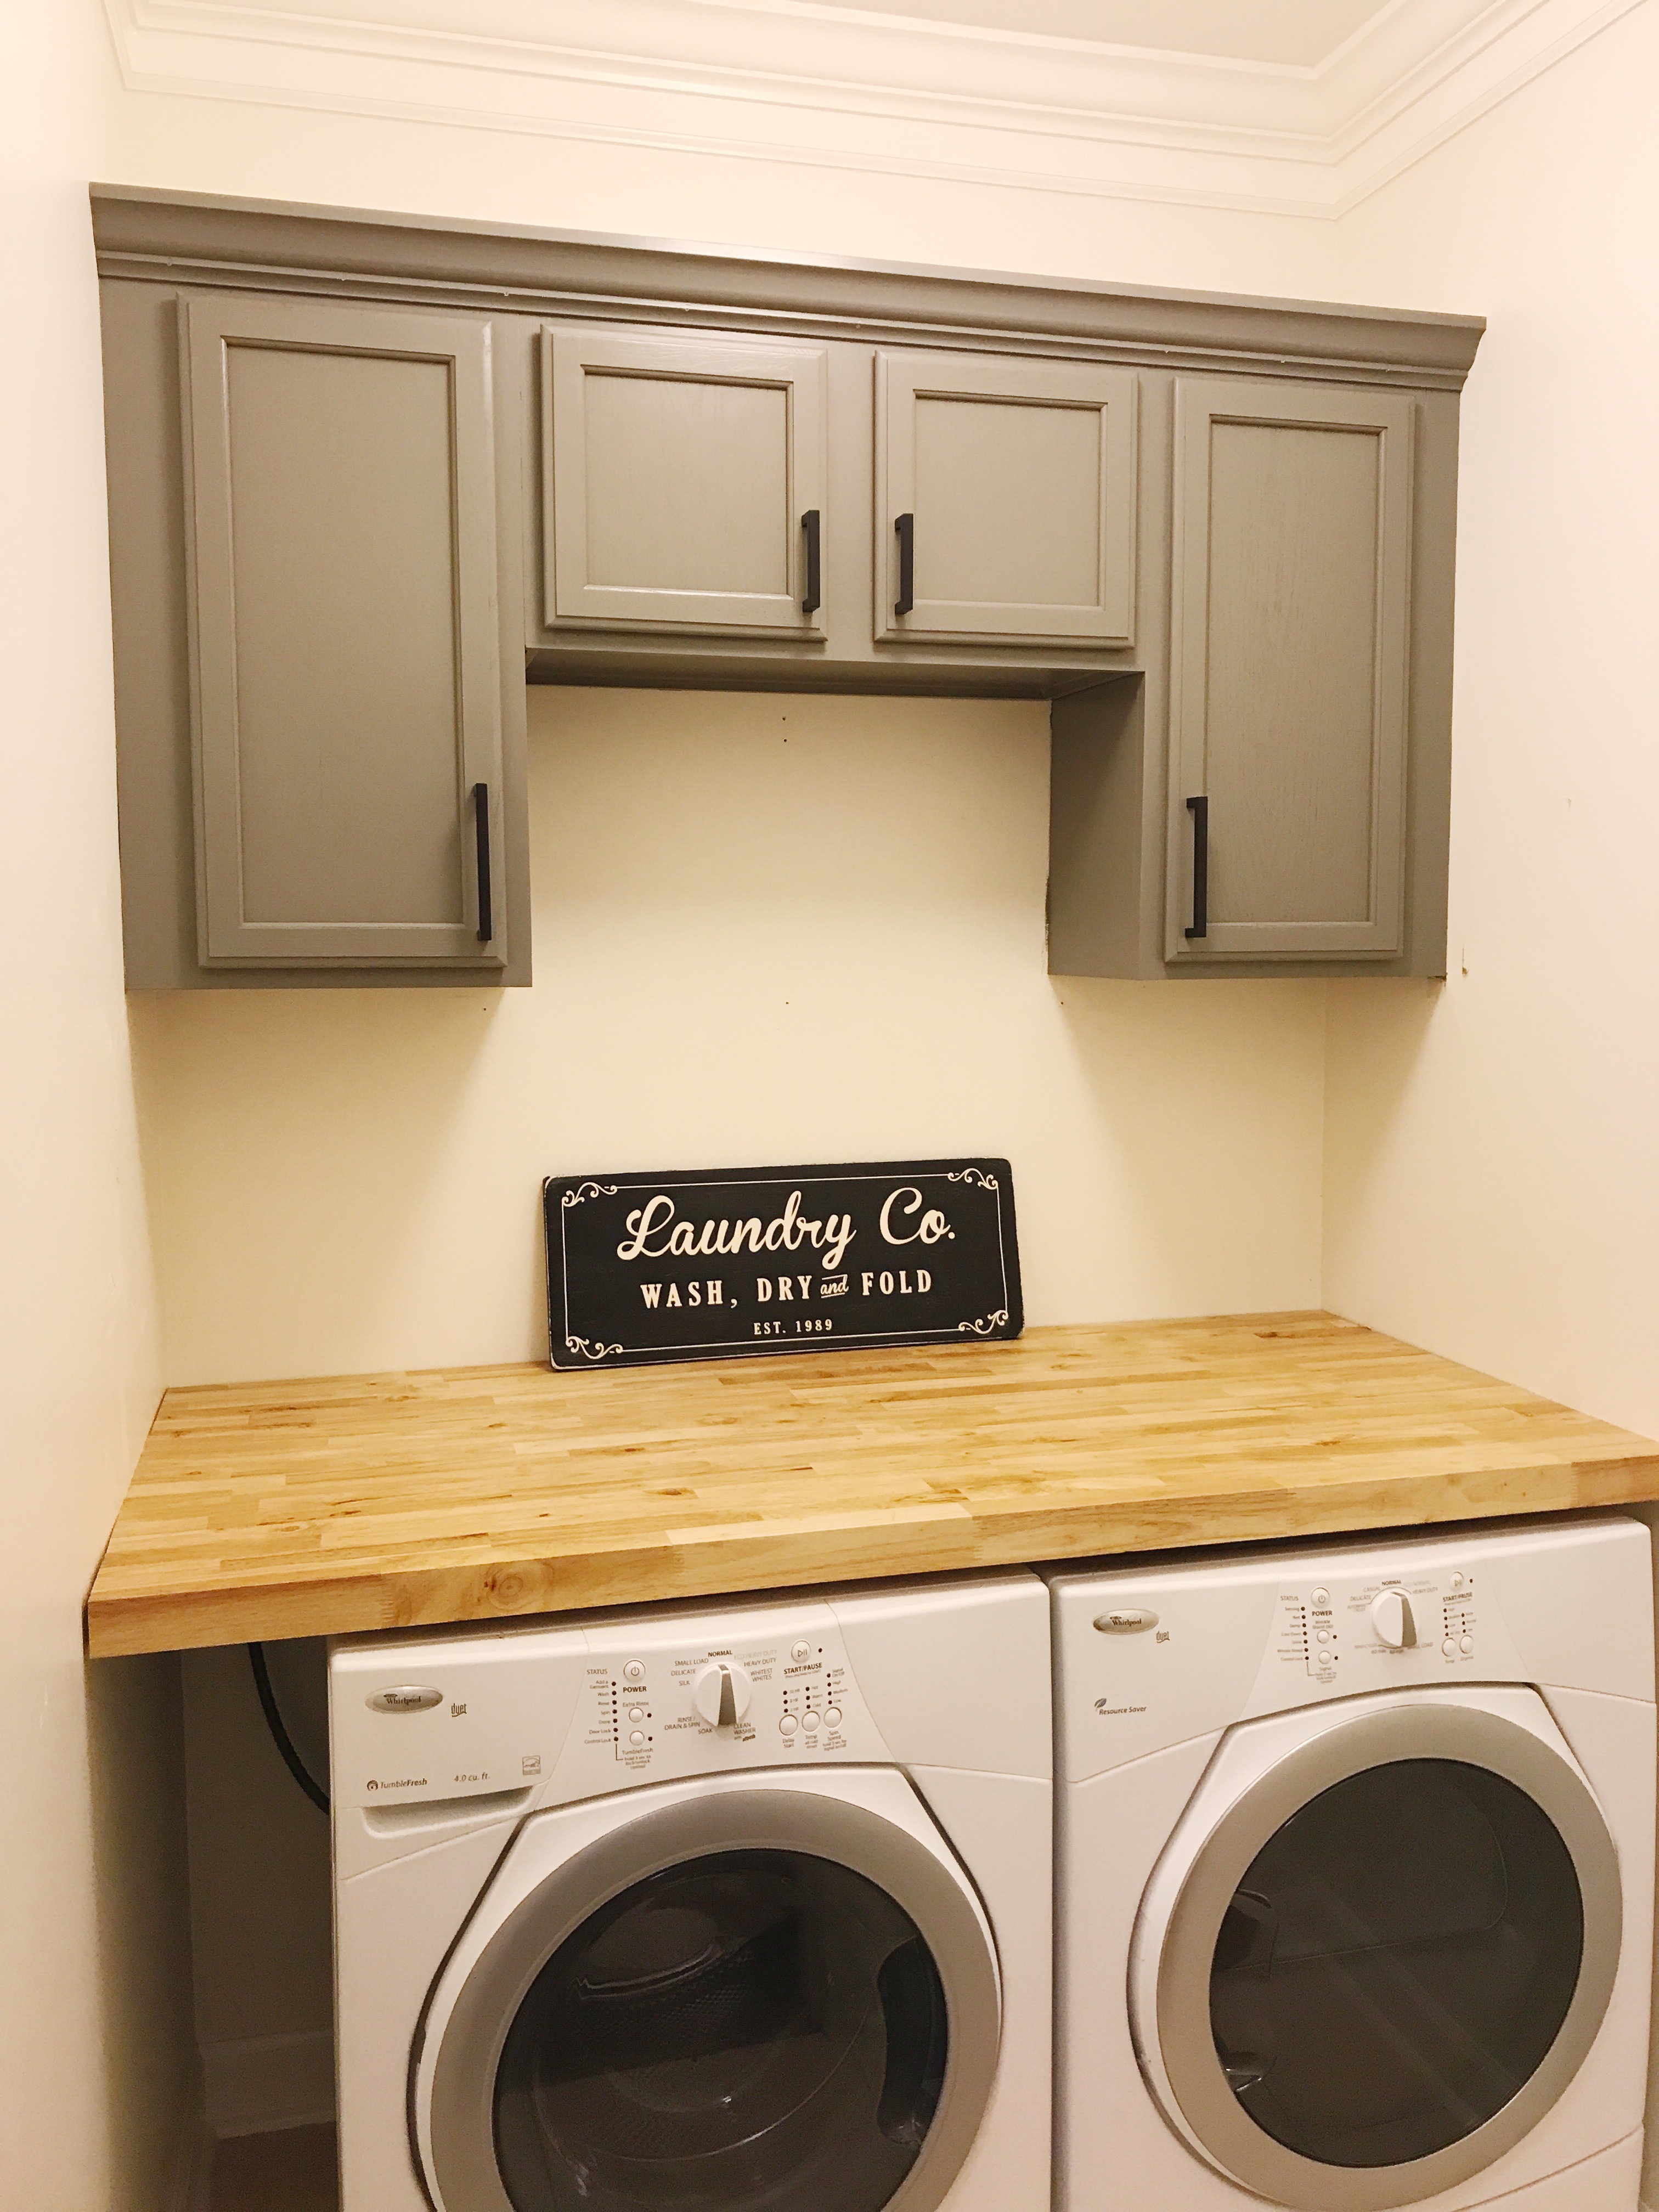
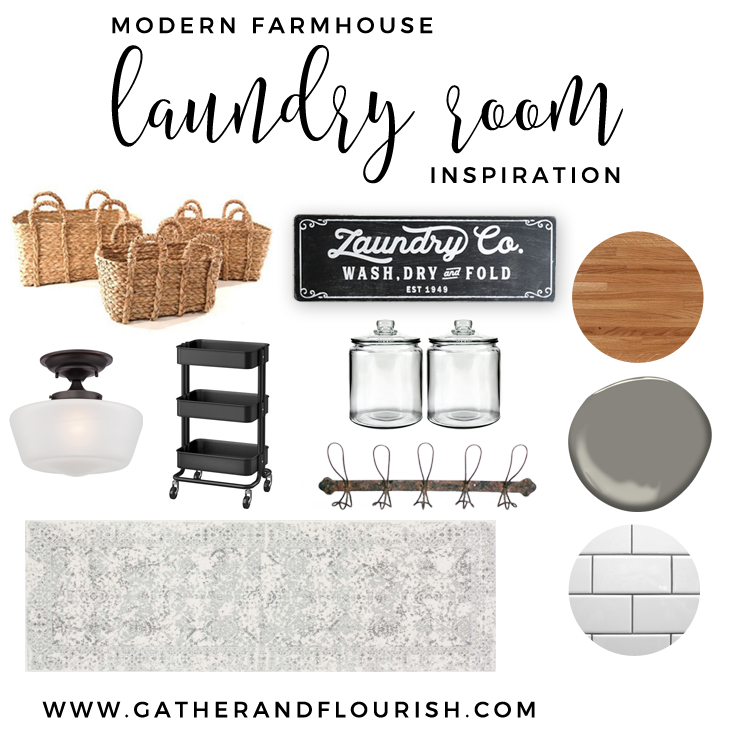
We are in the final stretch, only one week left in the One Room Challenge! We are getting so close, my vision is really starting to come to life! This week we have made some serious progress! Take a look…
Progress
- Unstack the washer and dryer
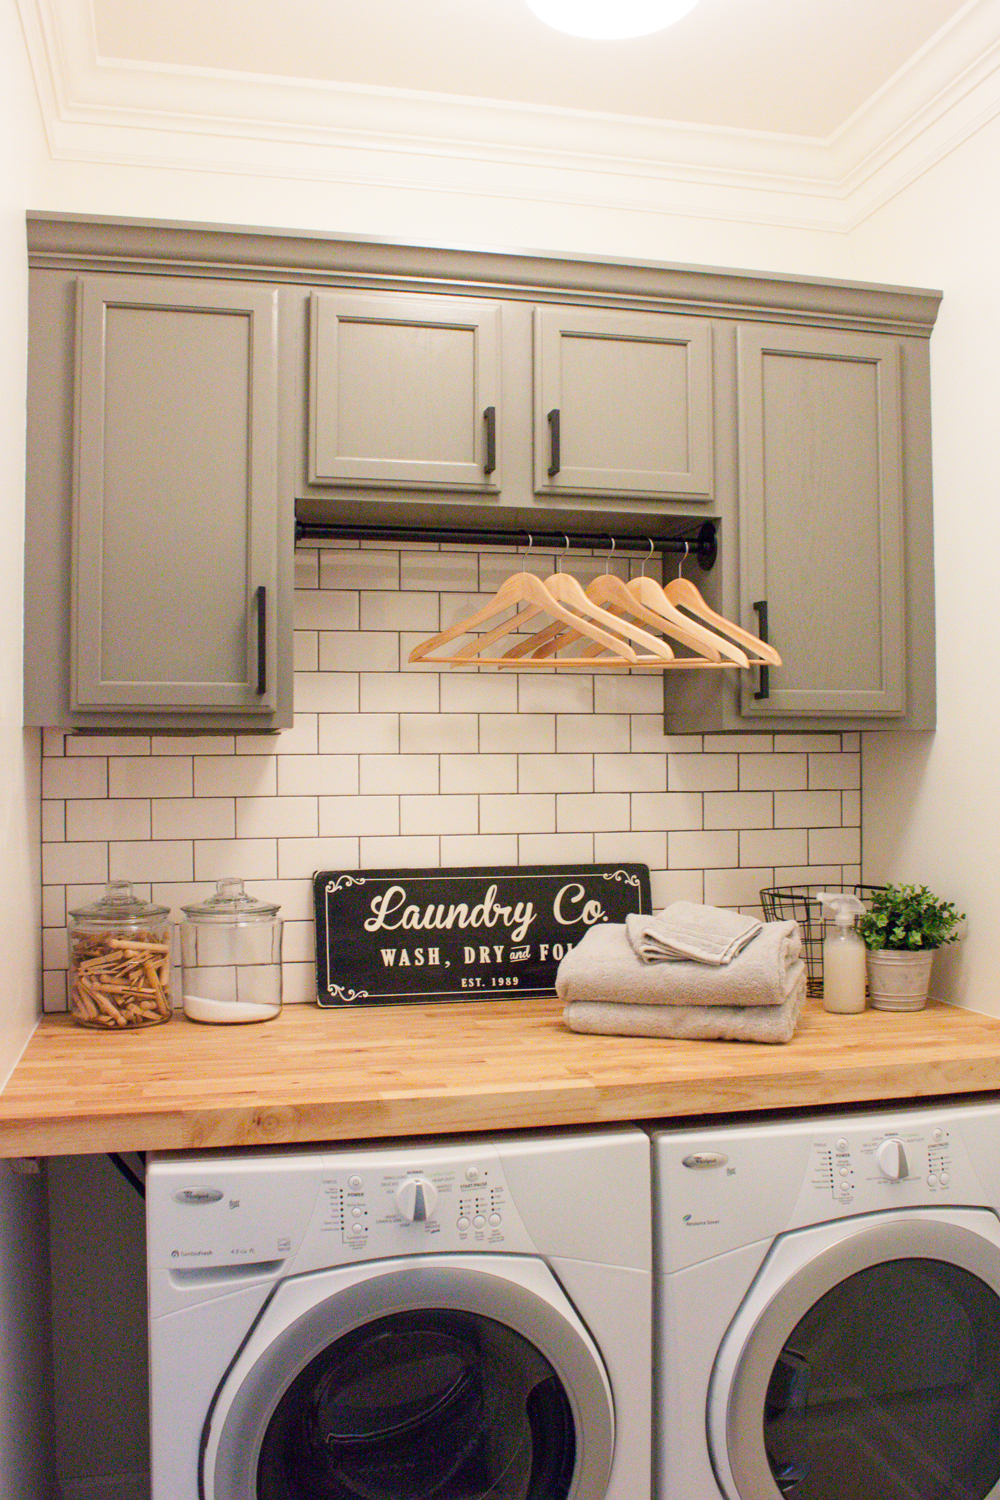
- Cut, seal and install butcher block countertop
- Fix the plumbing issues (such as the random pipes sticking out of the walls)
- Remove current shelving
- Sand and caulk cabinets
- Prime, paint and install cabinets
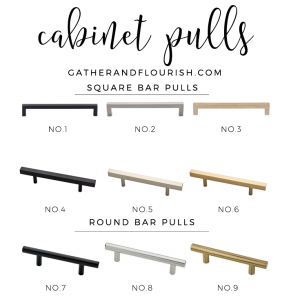
- Install cabinet hardware
- Paint the ceiling, walls, baseboards and trim
- Patch and mud the walls
- Remove old brown shoe molding and replace with white that is correct size
- Install subway tile backsplash w/ gray grout
- Install clothes hanging bar
So much has been accomplished this week: we have sealed and installed the butcher block; sanded, caulked, primed, painted and installed the cabinets; and we have painted the ceiling. A few things that we have left to accomplish include: patch and touch-up the walls that got damaged while installing the cabinets and countertop, install the backsplash and clothes hanging bar.
I found out this week that the rug I shared in my inspiration post is on back order and won’t be in before the reveal! 
Disclosure: This post contains affiliate links, which means I may receive a commission if you click a link and purchase something. Please check out our disclosure policy for more details.
Bosphorus Floral Ornamental Rug – Rugs USA
Sealing The Butcher Block
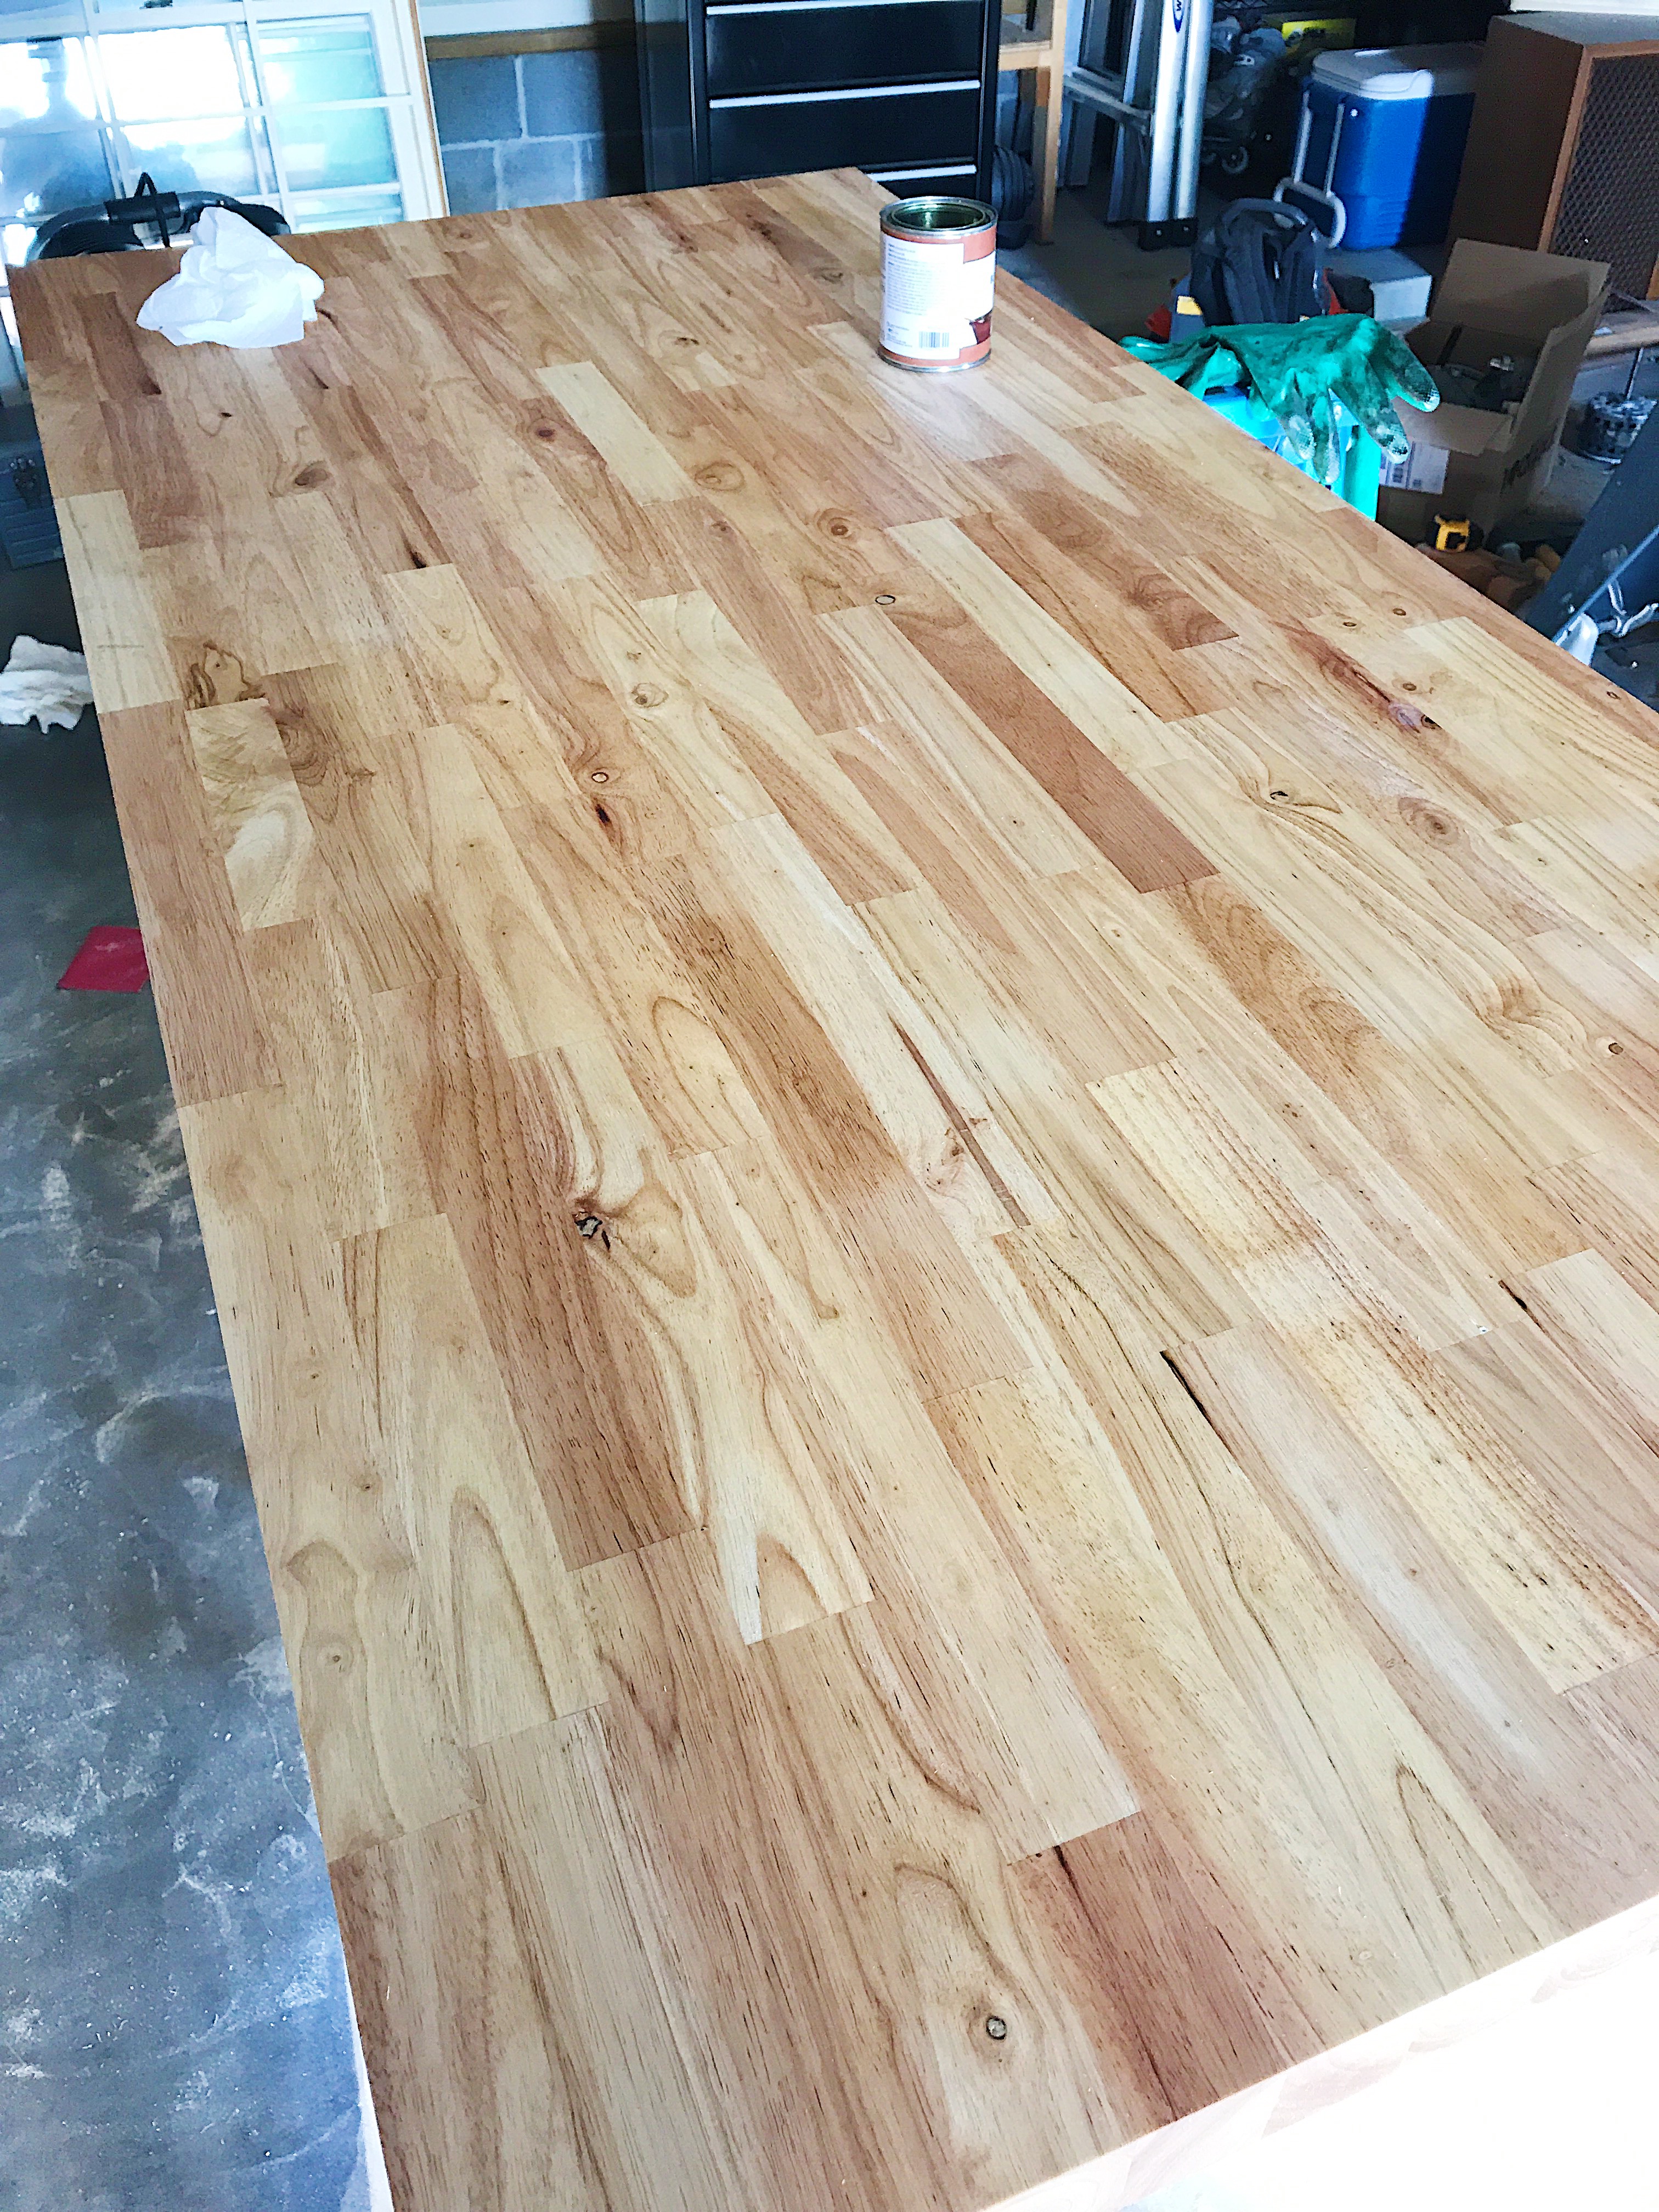
I wanted to share with you all how we sealed our butcher block countertop. There are many products out there for finishing butcher block countertops but we ultimately decided to go with Watco Butcher Block Oil & Finish, and I have to say I am 100% thrilled with the results (I was not asked by Watco to write this review, this is just my honest opinion on their product).
I know some people like to stain their butcher block, but I decided that for this particular project that I wanted to keep the finish as natural as possible. The Watco oil and finish is so easy to use and it is food-safe. You just simply wipe it on!

Look at the difference between the the raw wood and the wood where the finish was applied (please excuse the low-resolution of the above image). You can see it brings out the grain nicely and adds a warm tone to the wood!
Before applying the oil make sure you have sanded down the top of your butcher block to remove any rough areas, then wipe it down thoroughly with a damp cloth to remove any dust before sealing. Apply oil and allow to dry, then lightly sand with fine sandpaper between coats. Make sure to wipe the surface down really well before reapplying the finish. One final tip, which we were told when we bought the countertop, is to seal the entire piece (everything-top, bottom, and sides) to keep it from warping and give it the best protection against moisture.
Installing The Cabinets
We got the cabinets installed this week and I wanted to share that process with you all! We watched a tutorial from Lowe’s on how to install upper cabinets, we found it so helpful that we referred back to it several times during the installation process. I will be writing out a few of the steps that we took, but for a full tutorial I definitely recommend viewing that video!
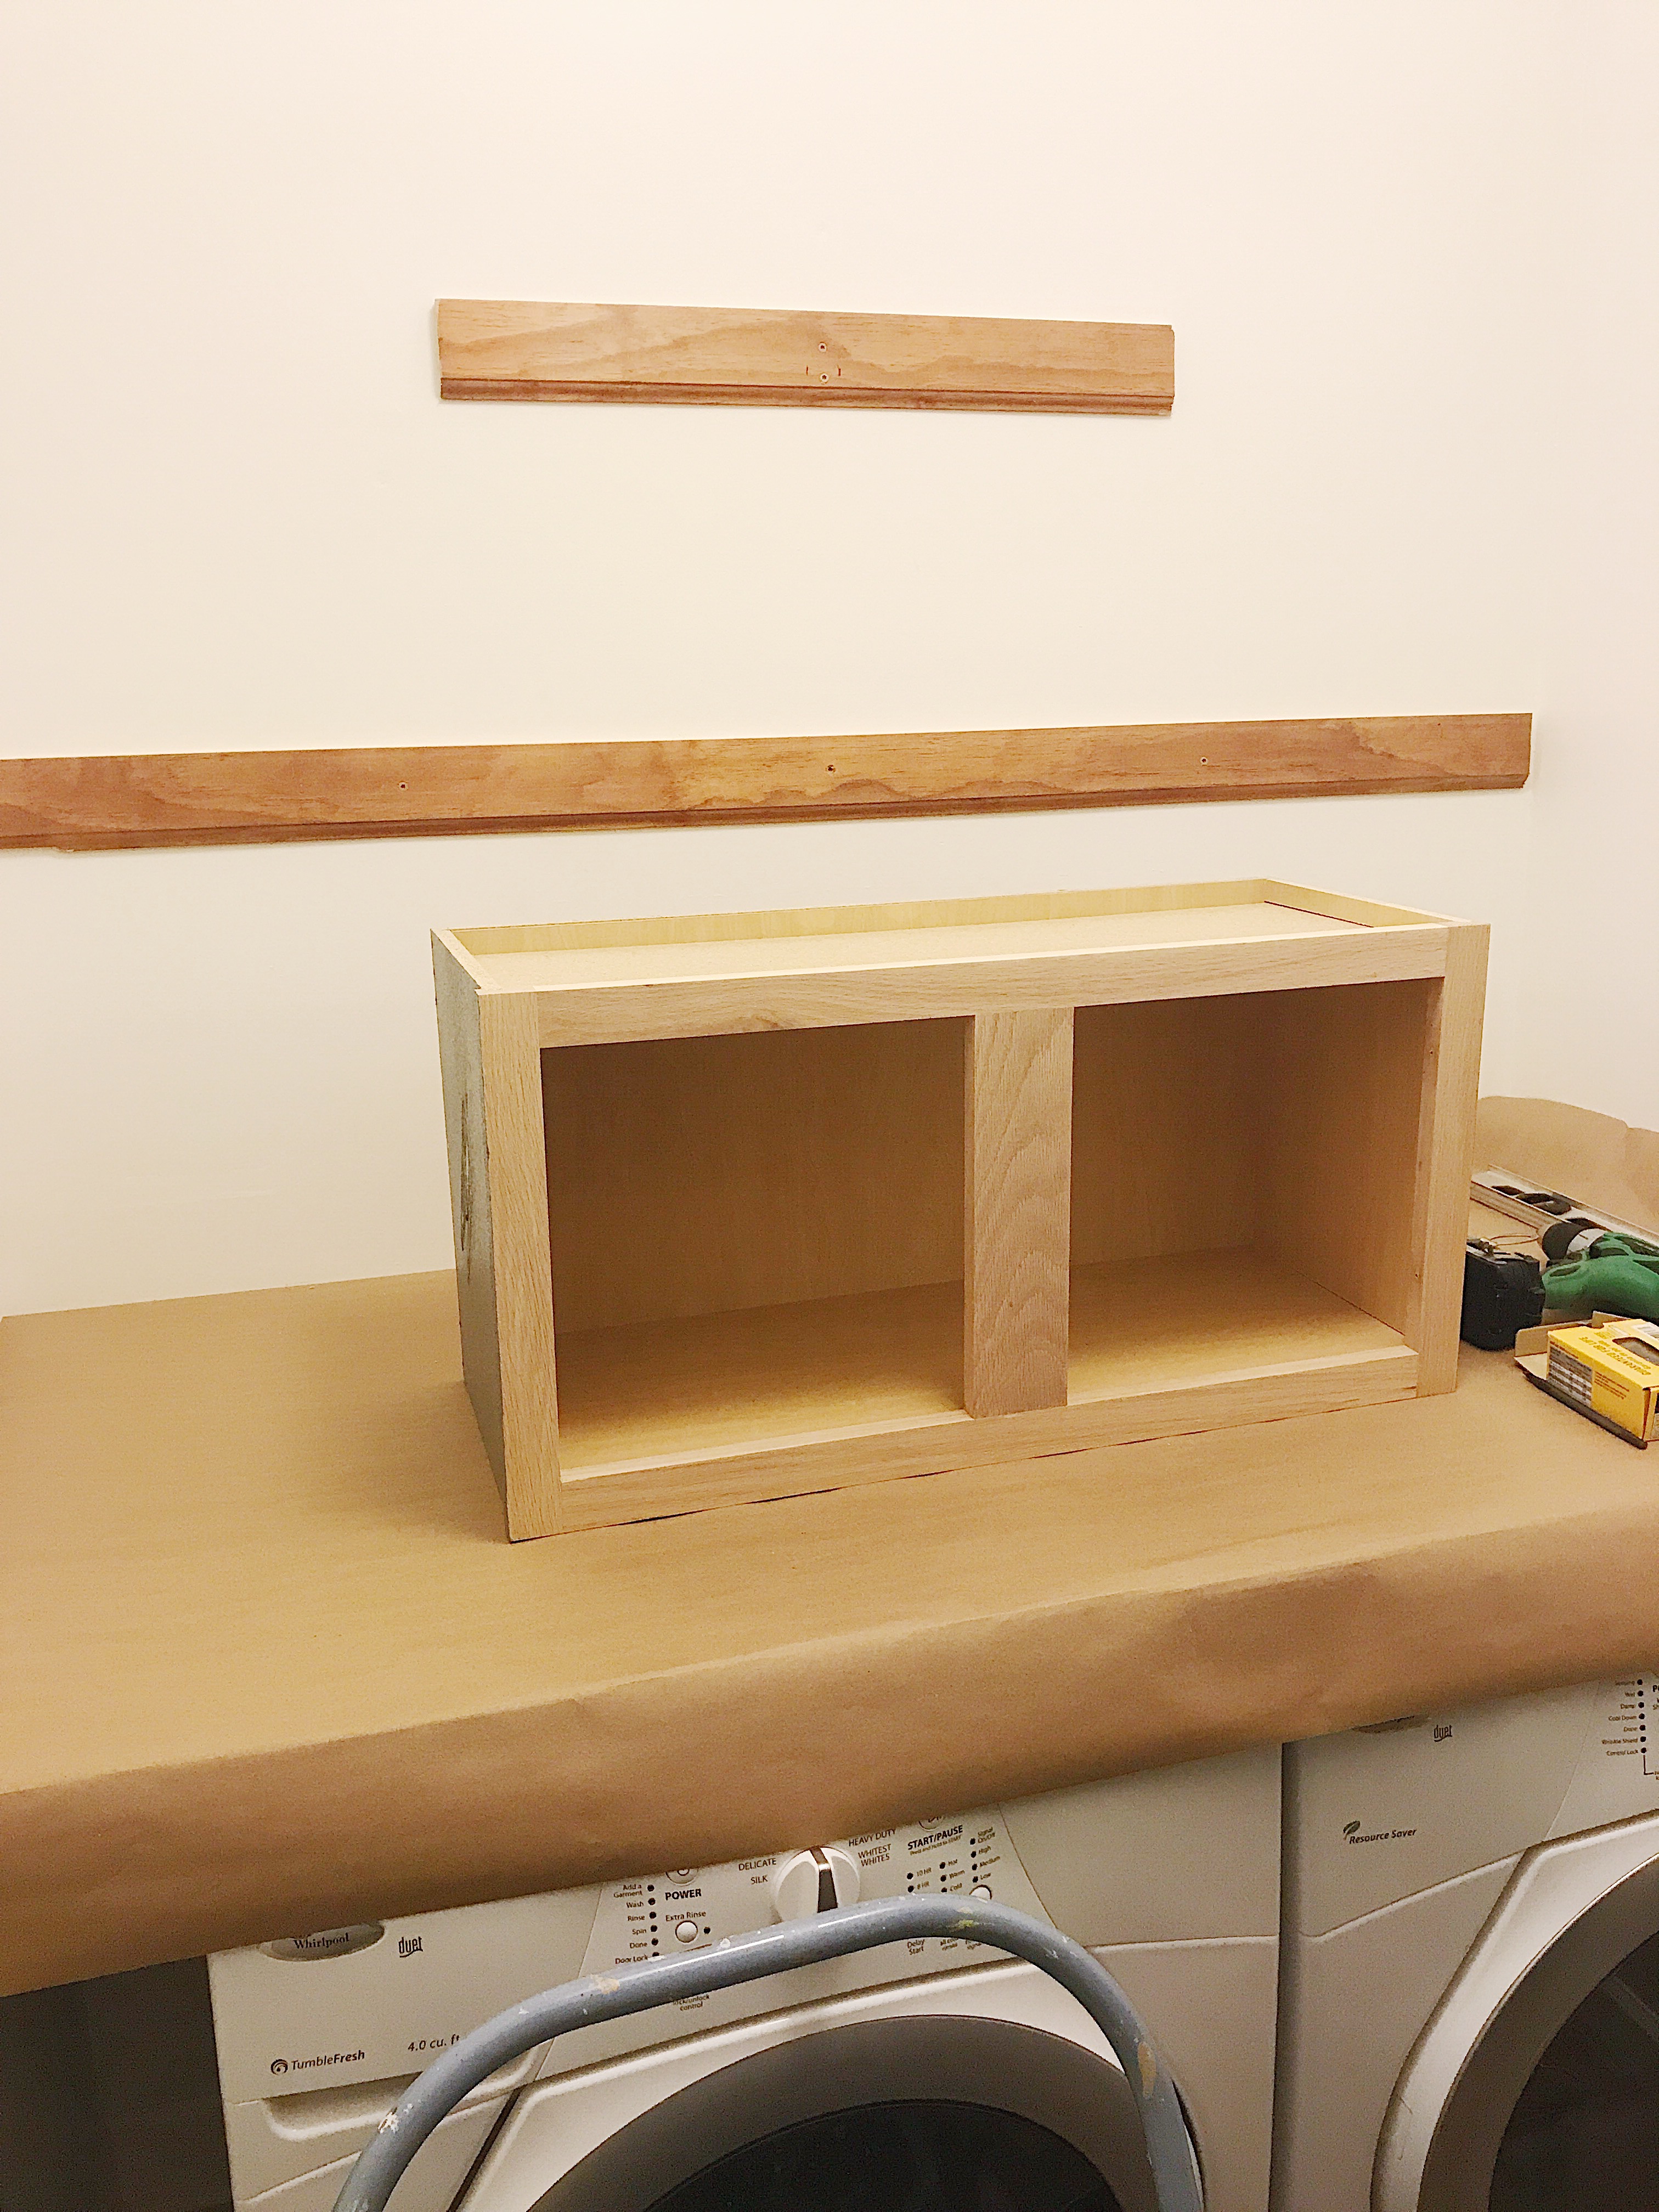
The first step was to install some ledger boards at our desired height, to support the cabinet while hanging them. Since we have cabinets are two different heights we had to install two different height ledgers. Once those were secured we were able to install the first cabinet! We used some wooden shims to to shim behind the cabinets as needed to get them level and flush.
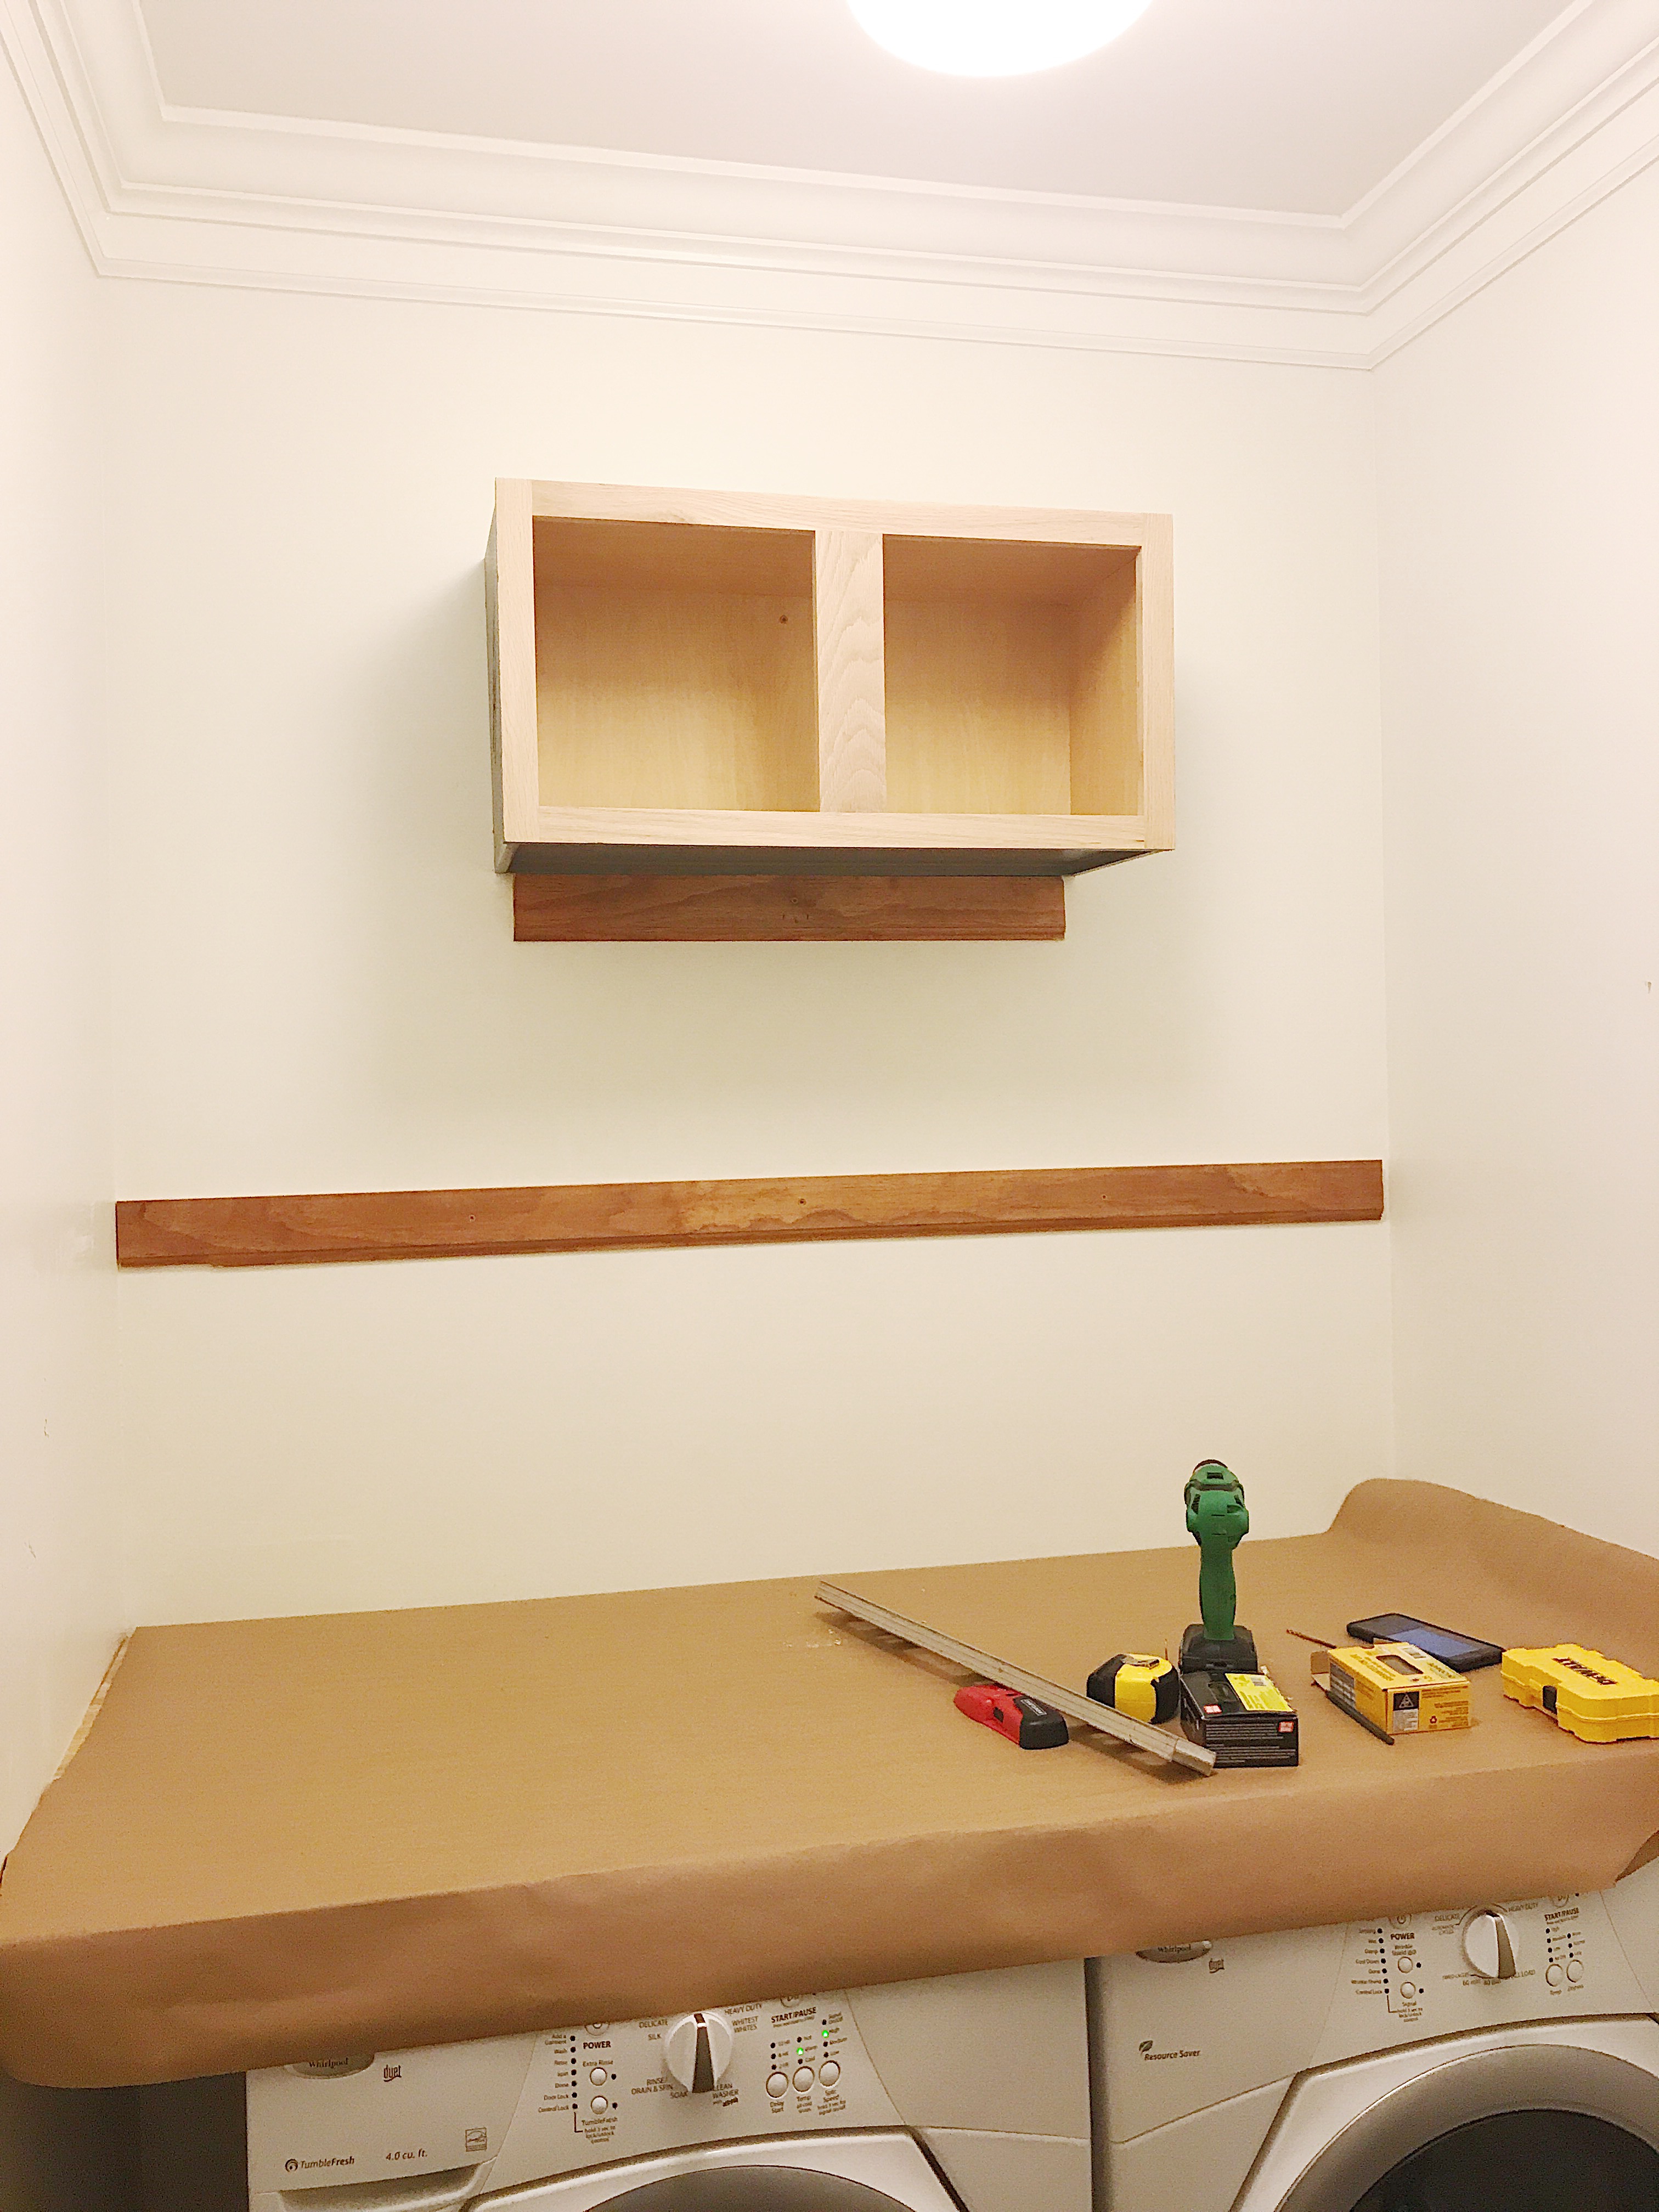
Next, we secured the cabinet into the stud with some wood screws.
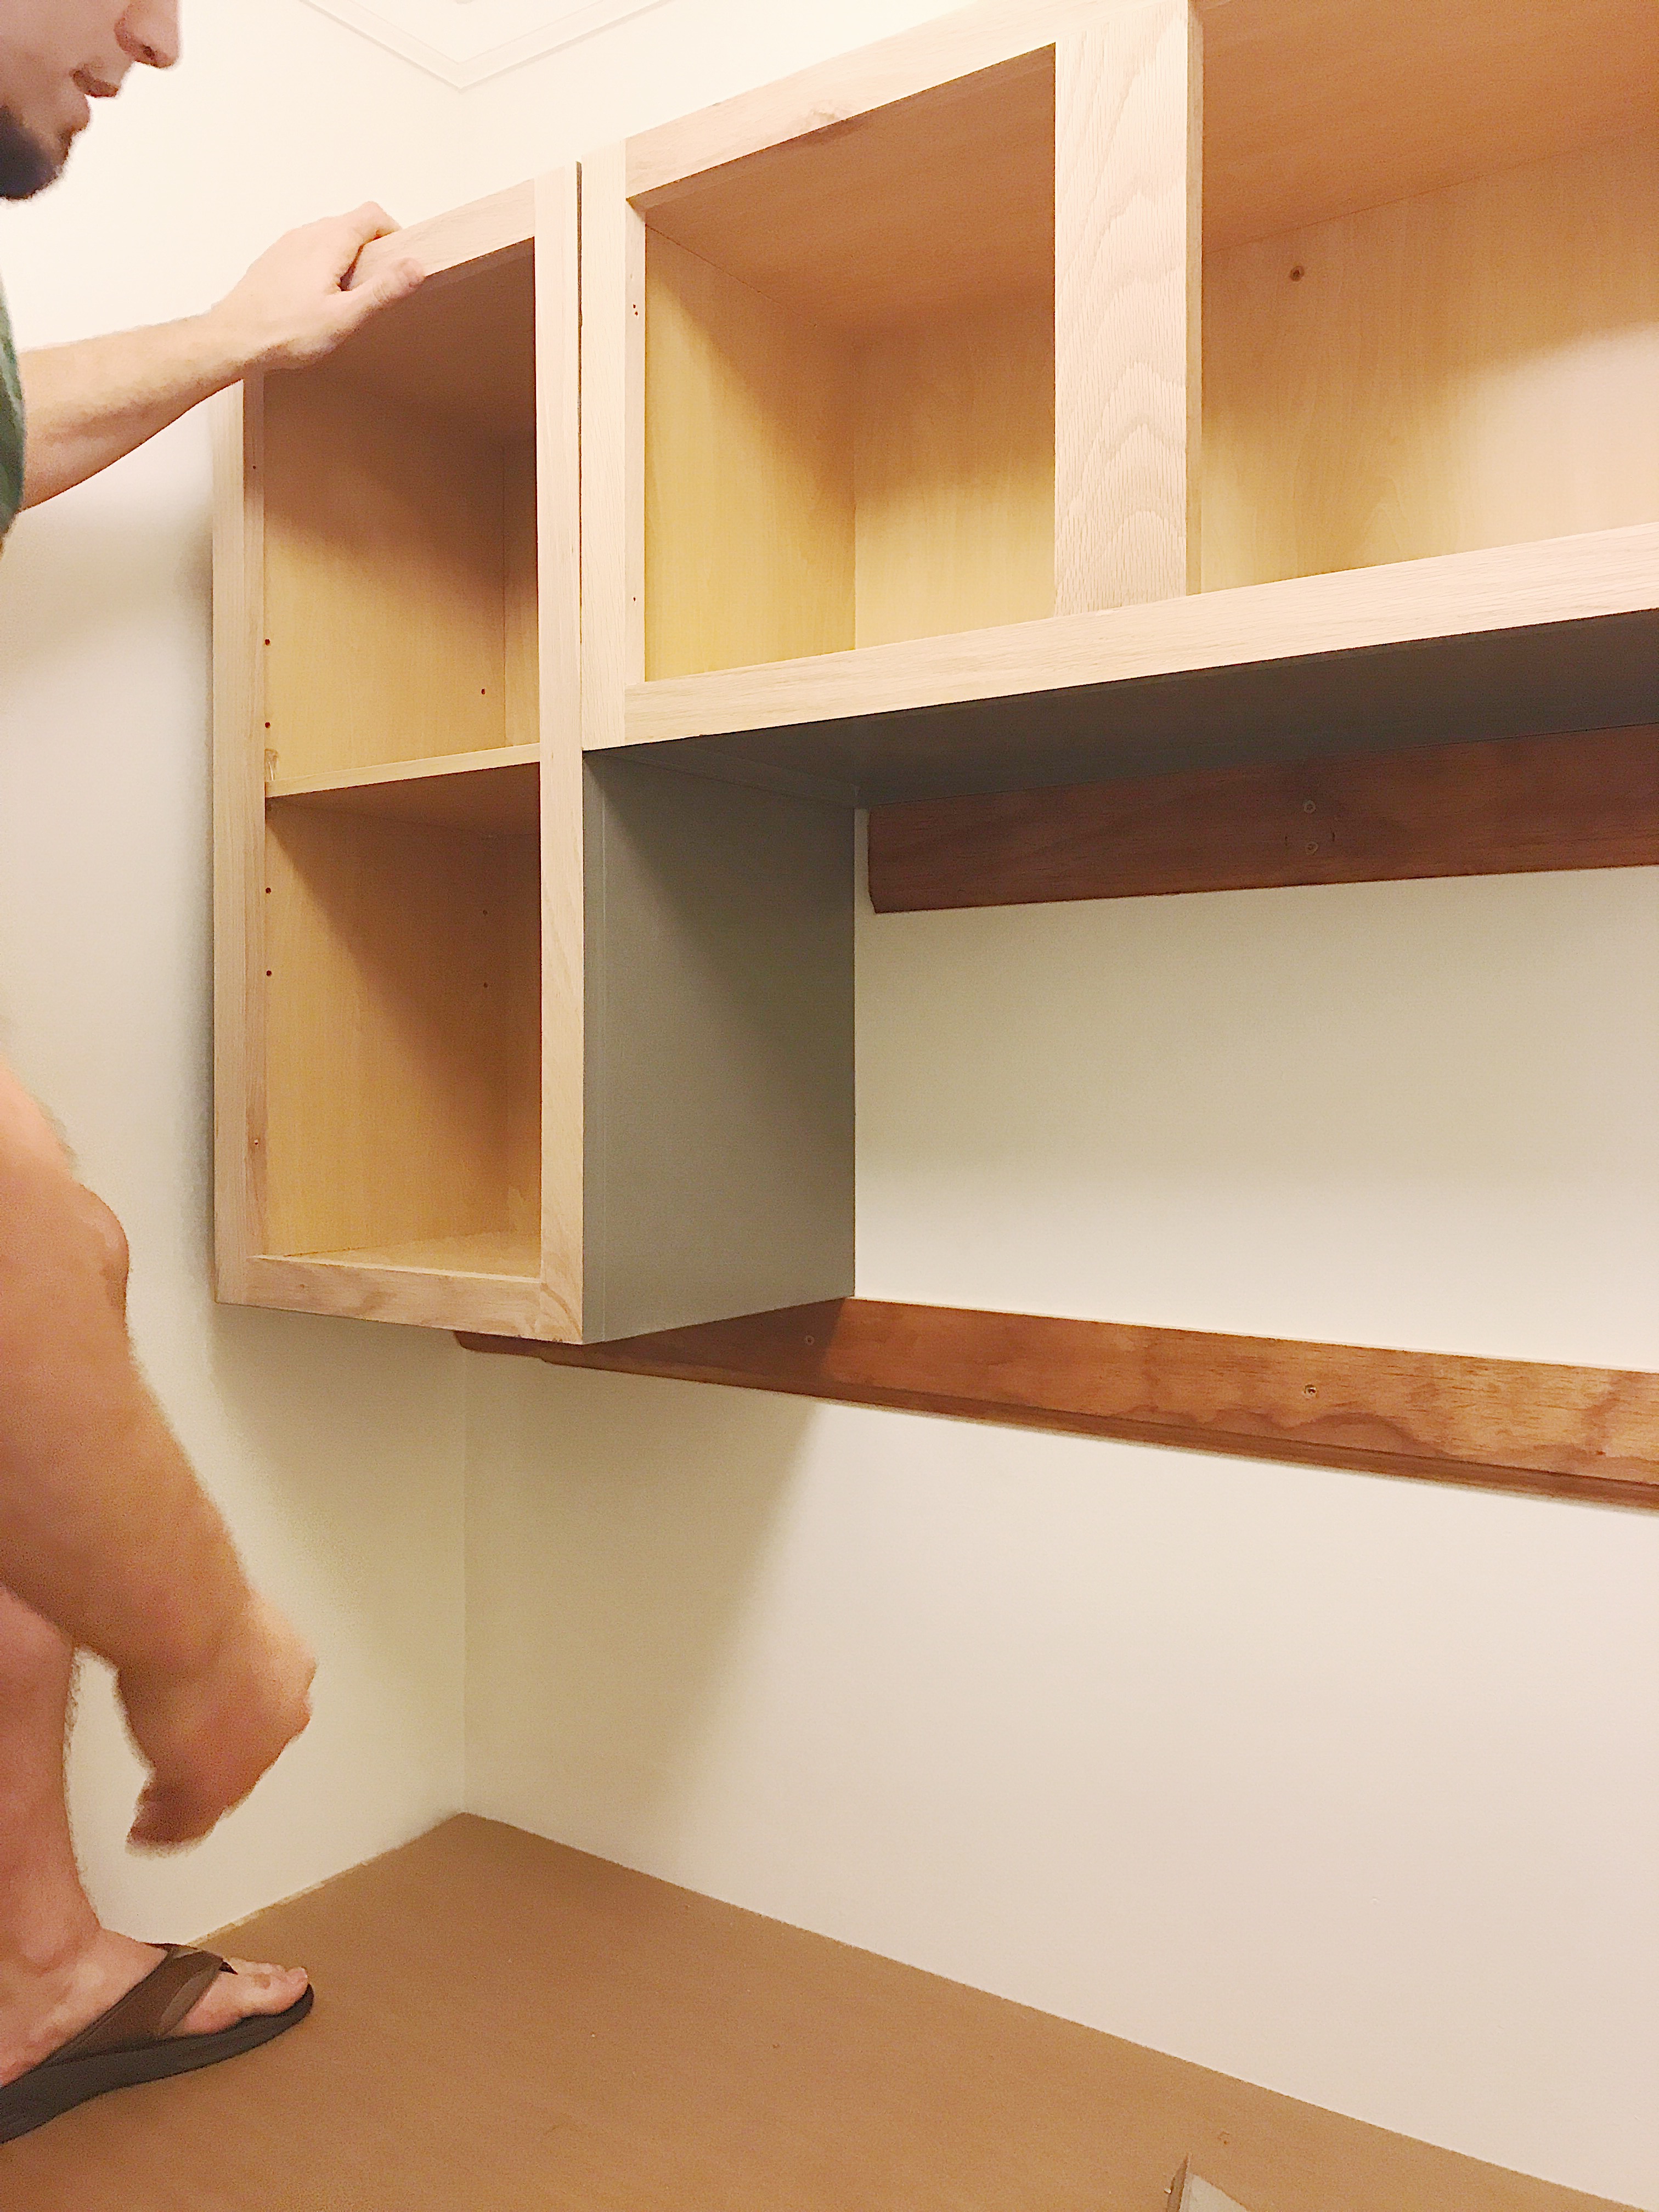
We install the left cabinet the same way as the other one, set it on the ledger for support, used shims to get it flush, checked that it was level and secured it into the stud. For extra support we used clamps to hold the cabinet in place while we secured it to the wall.
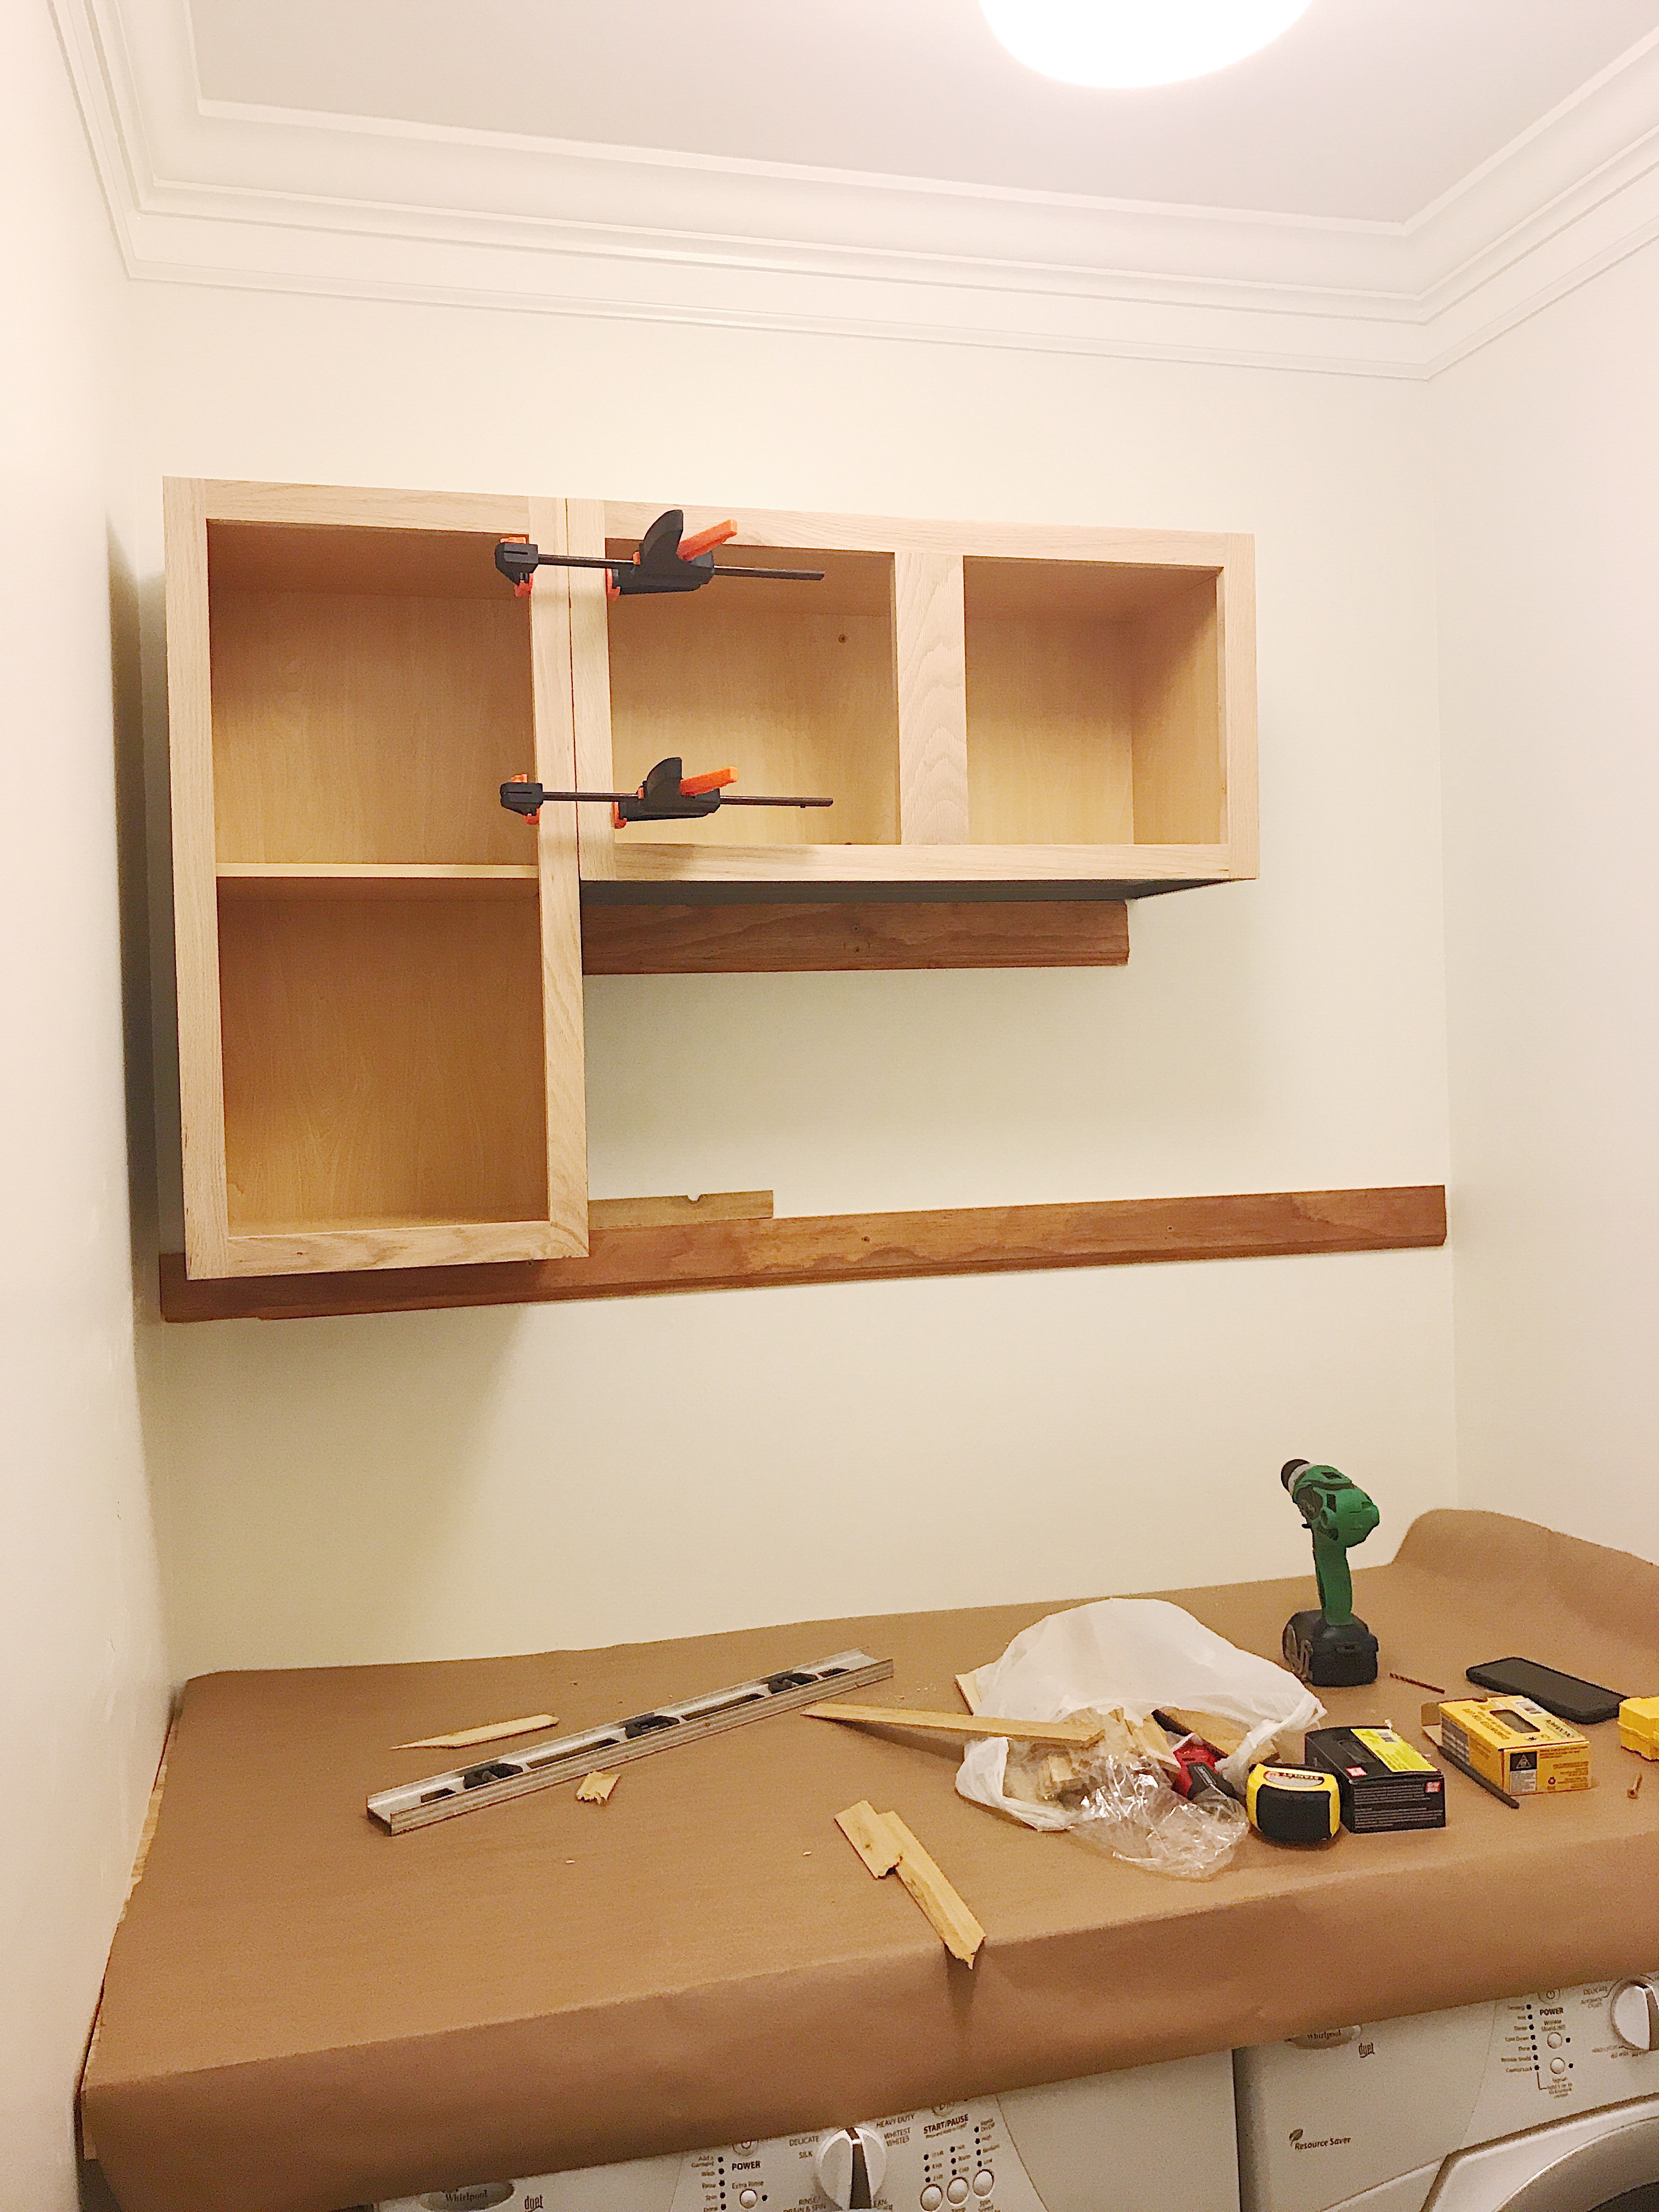
Once secured to the wall we secured the cabinets to each other. Repeat again with the next cabinet! When all the cabinets were installed, we removed the ledgers boards and used a razor blade to trim the shims flush.
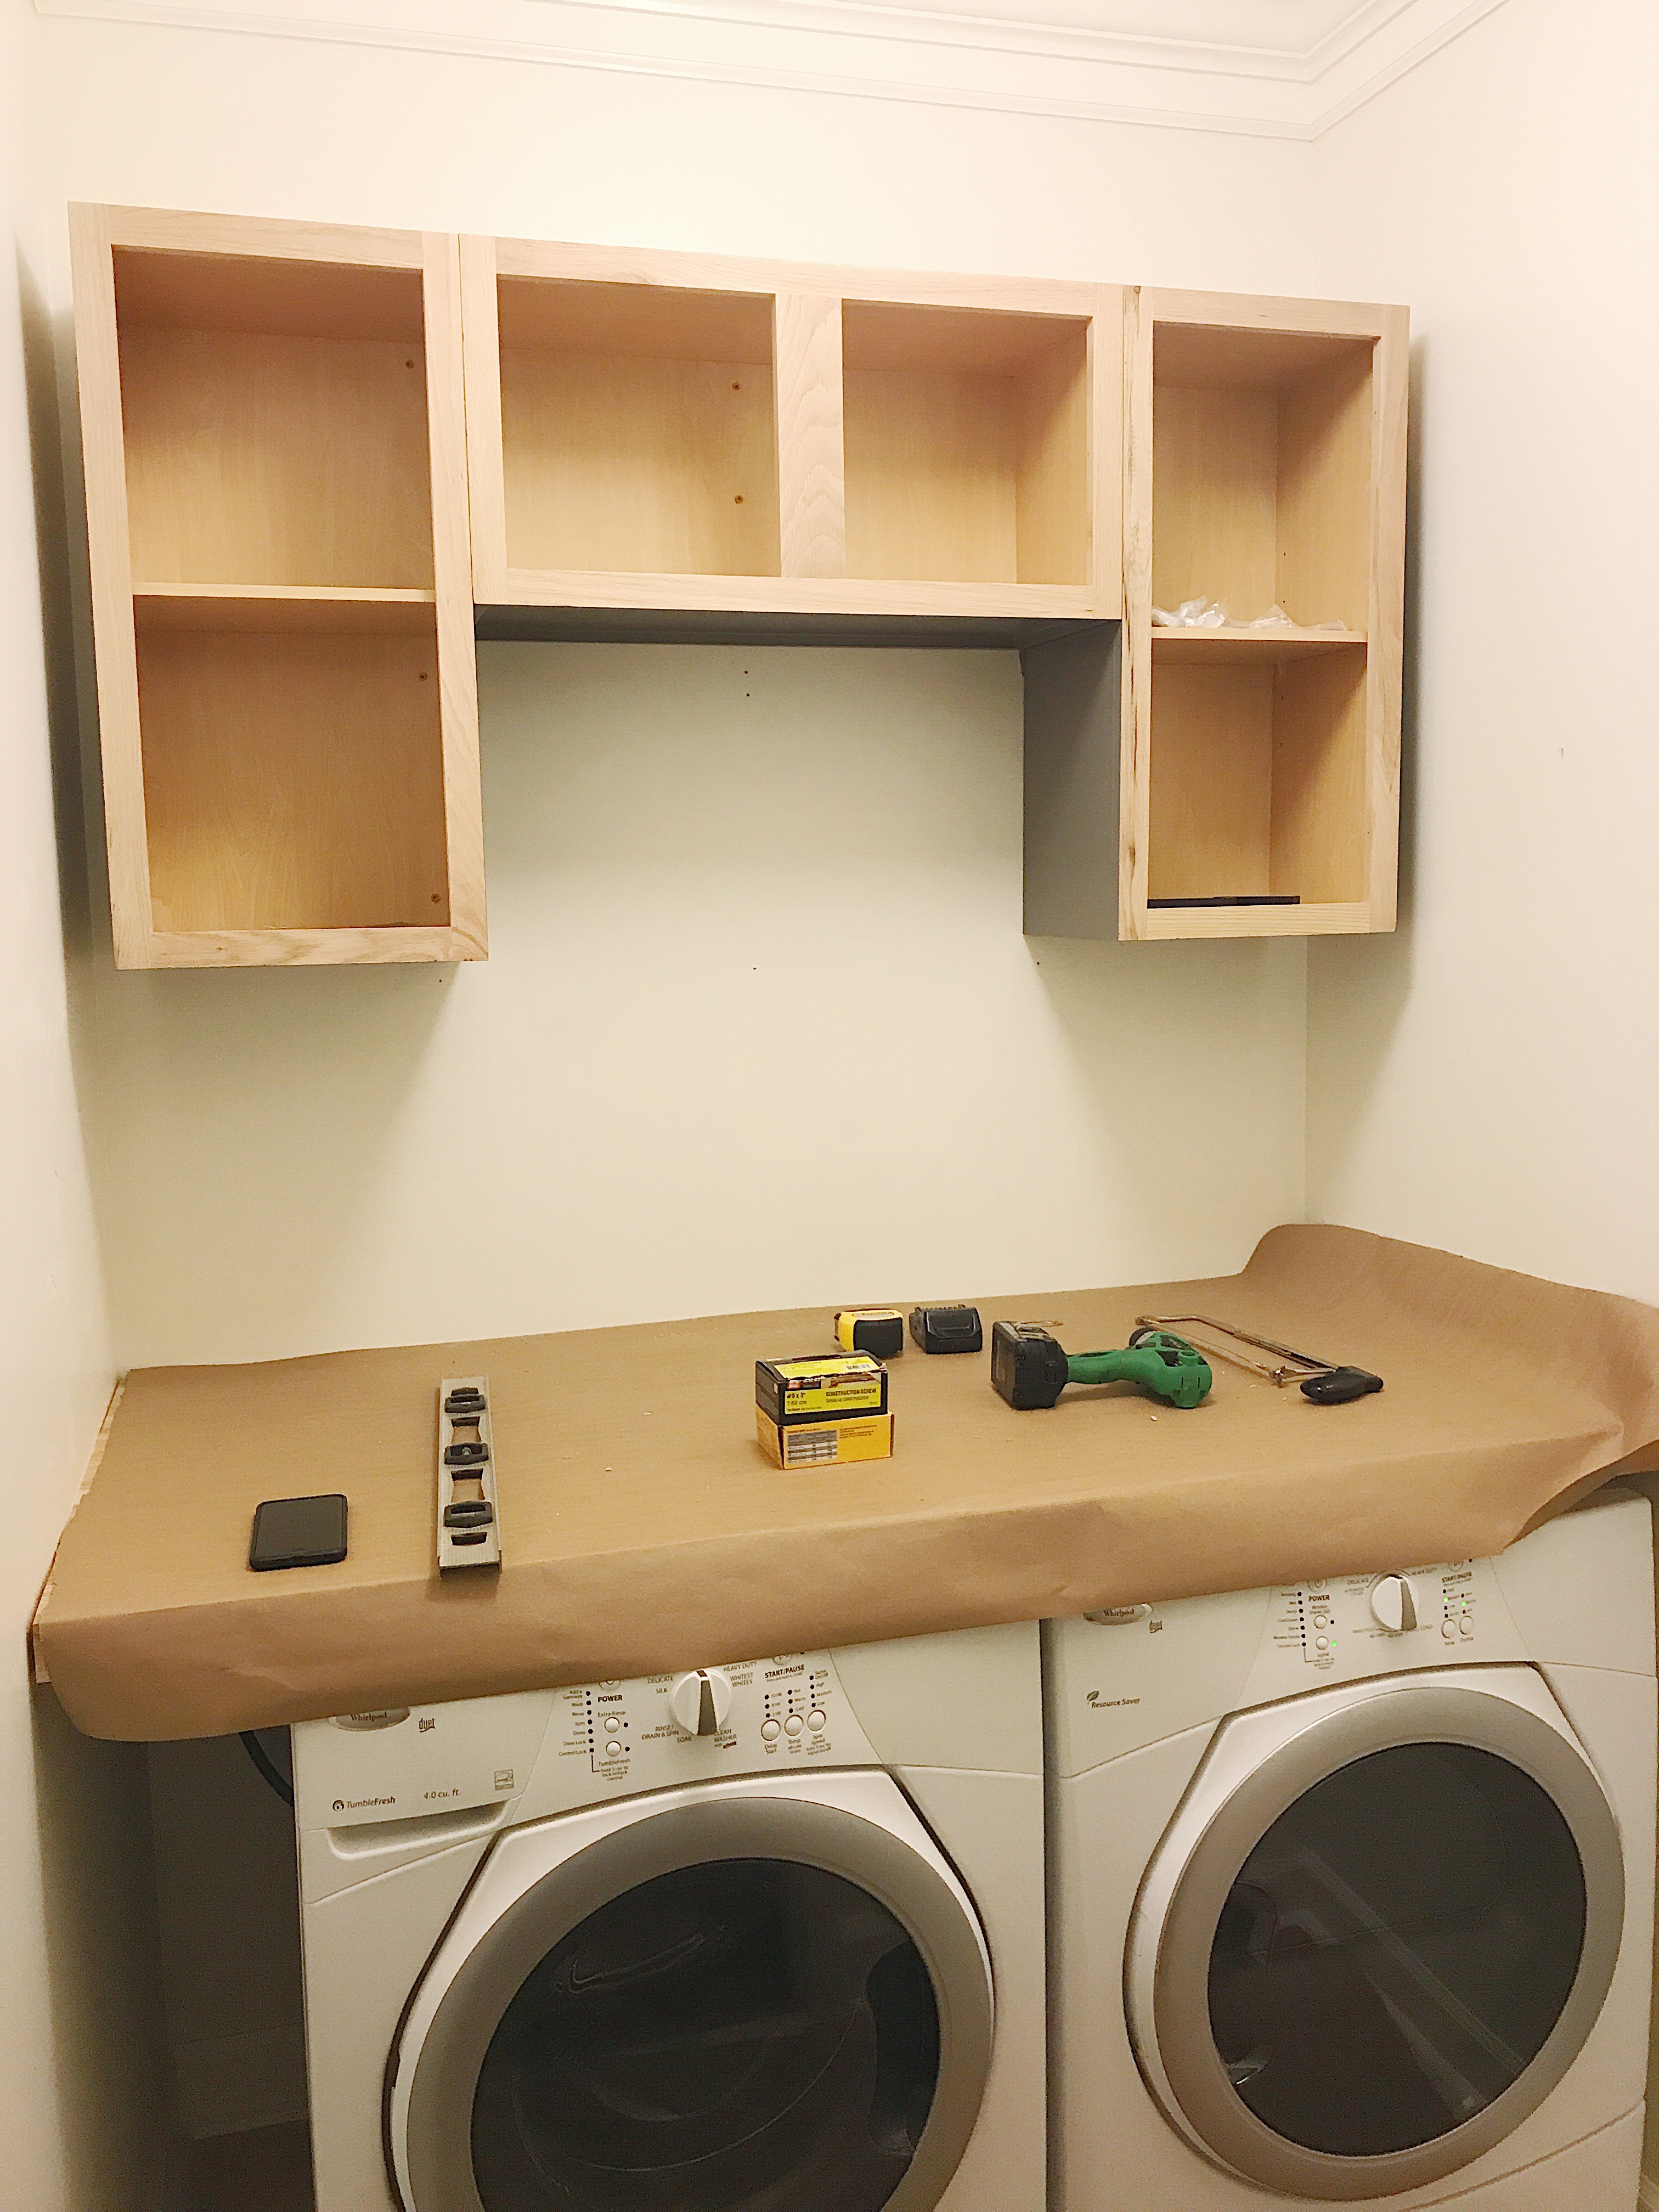
One final step was to add the filler strips at the ends of the cabinets to fill in the gap between the cabinets and the wall. To finish off the cabinets nicely, we also decided to add a strip of crown molding at the top to give the cabinets more of a custom look! We simply tacked it in along the top using our brad nailer.
What do you think of this week’s progress? Leave a comment and let me know!
Follow along on Instagram for behind-the-scenes photos and videos!


Cassie says
it is looking so awesome! the countertop is gorgeous!
Lauren says
Thank you Cassie! I am loving it!! I stop and stare at it every time I walk by! LOL! Can’t wait for the tile!
Jennifer Gainer says
Nice progress I love the butcher block countertop!! Can’t wait to see your final reveal next week!! We are almost there!!!
Lauren says
Thank you Jennifer! Can’t believe we are almost done!
Emy says
The cabinets looks great! I love that butcherblock! It looks so pretty with a clear coat!
Lauren says
Thanks Emy! It turned out really well! I am happy with it!
Jen says
Hello, what color are your cabinets? Hoping for something similar, thank you!!!
Lauren says
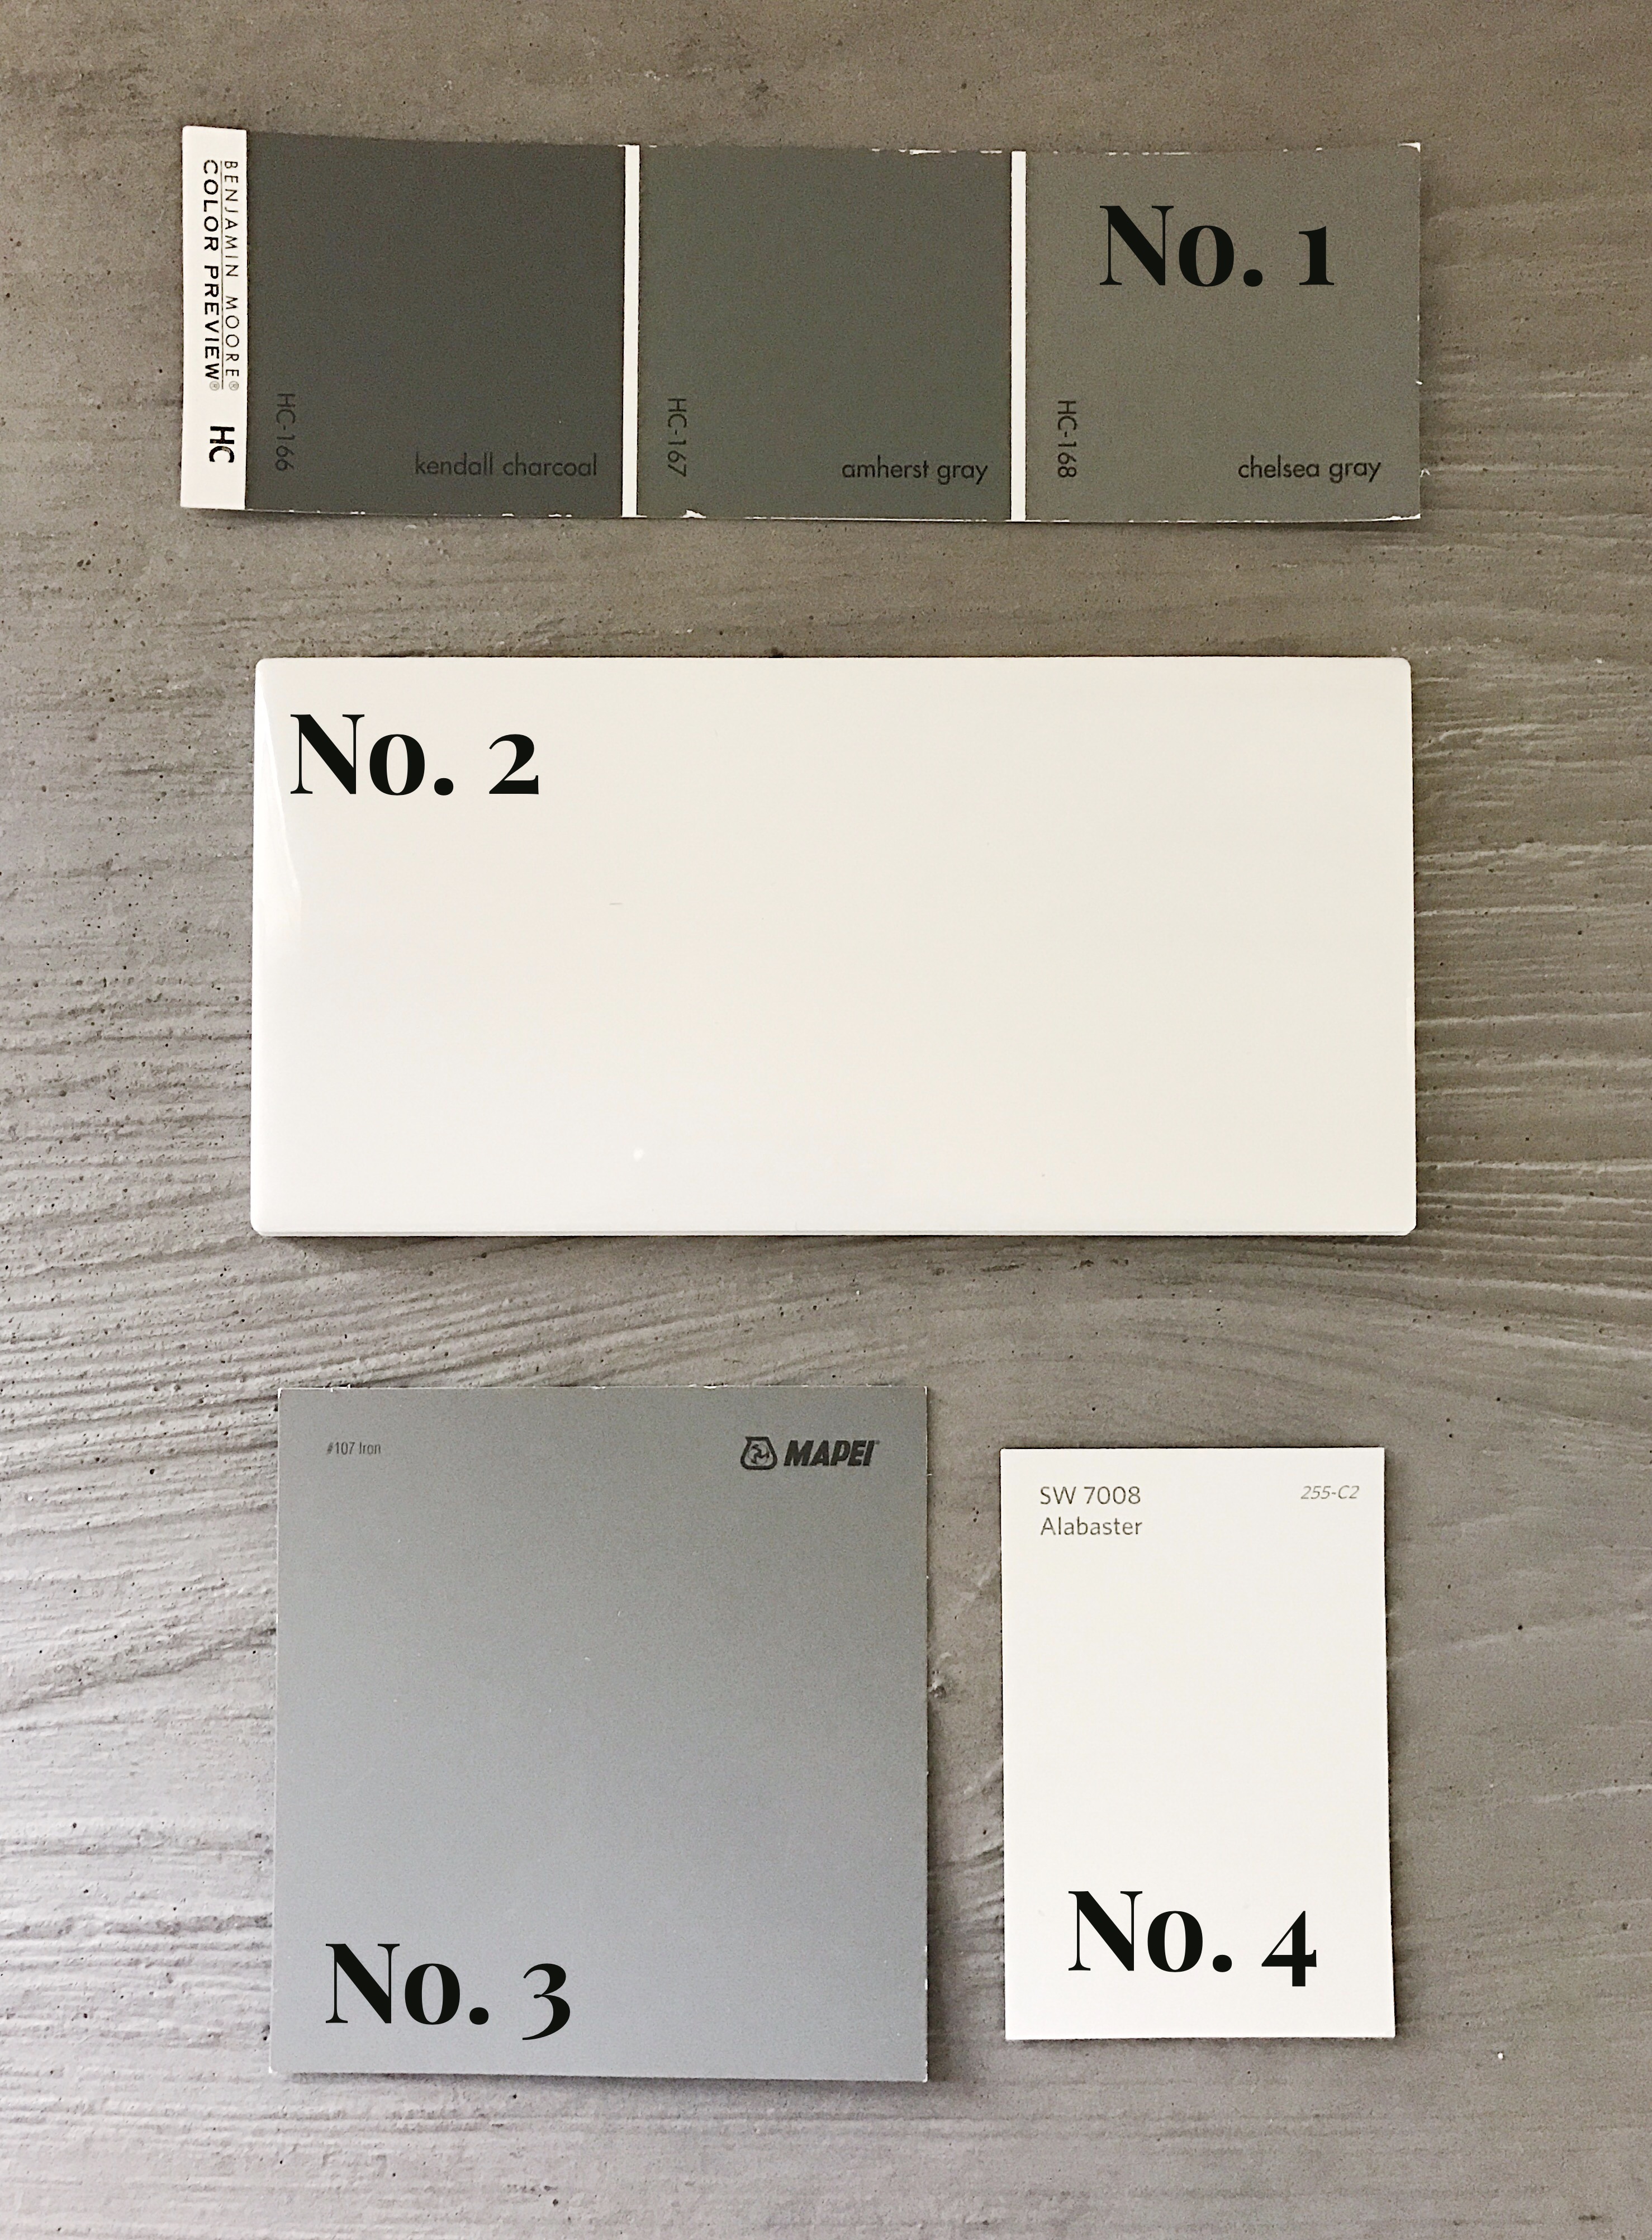
Benjamin Moore Chelsea Gray!
Jillian says
Looks great! I love butcher block too. We use mineral oil on our wood island counter top. This product is interesting, thanks for the review!
Lauren says
Yes I thought about mineral oil also, but I read about this product and wanted to give it a try! I’m really happy with the results!
Diana says
I love the color you chose for the cabinets!! You’re so close to being finished. It’s going to look so great!
Lauren says
Thanks Diana!! I’m loving them too! It’s a beautiful color in person!
Jessica says
It looks amazing, you’ve made so much progress!
Lauren says
Hey Jessica! I know this week we really worked hard! That progress was the results of A LOT of late nights! LOL!
lesli devito says
GIRL – You got some serious DIY skills – I Cannot wait to see the REVEAL!!!!!
Lauren says
haha Lesli! Thank you, but it’s mostly my husband! He is the brains and the brawn, I just make it look good! LOL!
Cheyenne says
Love it! Where did you get the butcher block from?
Lauren says
Hey Cheyenne! Thank you! We bought our butcher block at a local place, Southeastern Salvage. But I know places like Lumber Liquidators sell butcher block in all different types of wood.
BonBon says
I love how your laundry room is coming together. The butcher block is beautiful. I can’t wait to see the reveal.
Meredith Croak says
Hello! I am using your photo as inspiration for my laundry room!!! I seriously LOVE this! I was wondering if y’all made the cabinets yourself or did you go to lowe’s and give them dimensions and have them make them for you?
Kris L says
Hi! I was also wondering where you purchased your cabinets?
It looks lovely!
Lauren says
Hey Kris!
We purchased the cabinets unfinished from Lowe’s, they were the premade ones that they have in stock all the time. Nothing special ordered or custom! And then I painted them using my Homeright Finish Max Paint Sprayer in Benjamin Moore Chelsea Gray. Hope this helps! Let me know if you have anymore questions!
Kerry says
Beautiful! Any chance you know the height and width of the cabinets still? You space looks like almost the exact same size as mine!
Lauren says
Hi Kerry!
We used two cabinets that were 30″H x 15″W x 12″D, and one cabinet that was 15″H x 30″W x 12″D. However they did not touch the walls, we used a couple filler pieces on the ends to fill in the gaps between the cabinets and the walls. Hope this helps!!
Kerry says
Perfect, thanks so much!
Ashley says
Can you please explain a little more how you added the filler strips? Love the look of cabinets and butcher block!!
Thanks! ????
Lauren says
Hi Ashley! This video from Lowe’s is what we watched to learn how to install the cabinets and the filler strips. I could try to explain it, but I think watching the video will be the most helpful!
https://www.lowes.com/projects/kitchen-and-dining/install-upper-cabinets/project
Christina Haines says
Hi there – since you’re a little over a year and a half out from this post, I was curious how the butcher block is holding up with the product you used to seal it.. and also, if you’ve had any issues with your clothing being on it? I’m so nervous about anything with oil ruining any clothes sitting on top of the countertop.
Lauren says
Hi Christina! I feel like the term “butcher block oil” is actually deceiving. The Watco butcher block oil is an oil and finish, so it will dry with a finish similar to polyurethane but it is food safe. I have not had any problems with the finish, it is holding up extremely well and I have never had any oil stains on my clothes from contact with the butcher block. I hope this helps answer your question!
Krista says
Can you tell me where you purchased your butcher block? Thanks!
Lauren says
It was a local place called Southeastern Salvage. They have several locations so I would check their website to see if there is one near you!
Lauren says
Hi Krista!
We purchased our butcher block at a local place called Southeastern Salvage Home Emporium. They have locations all over the southeast so I would look online to see if they have a location near you!
Ashley says
Hey How did you install the butcher block or did you just lay it across
Lauren says
We attached two pieces of 2x4s to the two side walls and along the back that the butcher block rests on, then we secured it by screwing up through the 2x4s into the butcher block. Hope this helps!
James Cirrito says
How did you secure the countertop to the wall?
Lauren says
We attached two pieces of 2x4s to the two side walls and along the back that the butcher block rests on, then we secured it by screwing up through the 2x4s into the butcher block. Hope this helps!
Chris says
What kind of wood is your countertop made of.