Today I have a really fun, easy (and not to mention cheap!) project to share with you! I have been wanting some grain sack striped pillows to add to my boys’ bedding, and I knew I could easily DIY them. So I am showing you how I made my DIY No Sew Grain Sack Pillow Cover! And did I mention that they cost me under $5 to make?!

Disclosure: This post may contain affiliate links, which means we may receive a commission if you click a link and purchase something. Please check out our disclosure policy for more details.
DIY No Sew Grain Sack Pillow Cover

Materials
- Pillow Cover (I bought these from Hobby Lobby for $2.50 each!)
- Fabric Paint
- Cardboard or Card Stock
- Paint Brush
- Painter’s Tape
- Pencil
Instructions
- I bought these 100% cotton linen pillow covers from Hobby Lobby (the same ones I used for this project). They usually cost $4.99, but I got them while they were half off for $2.50 each!

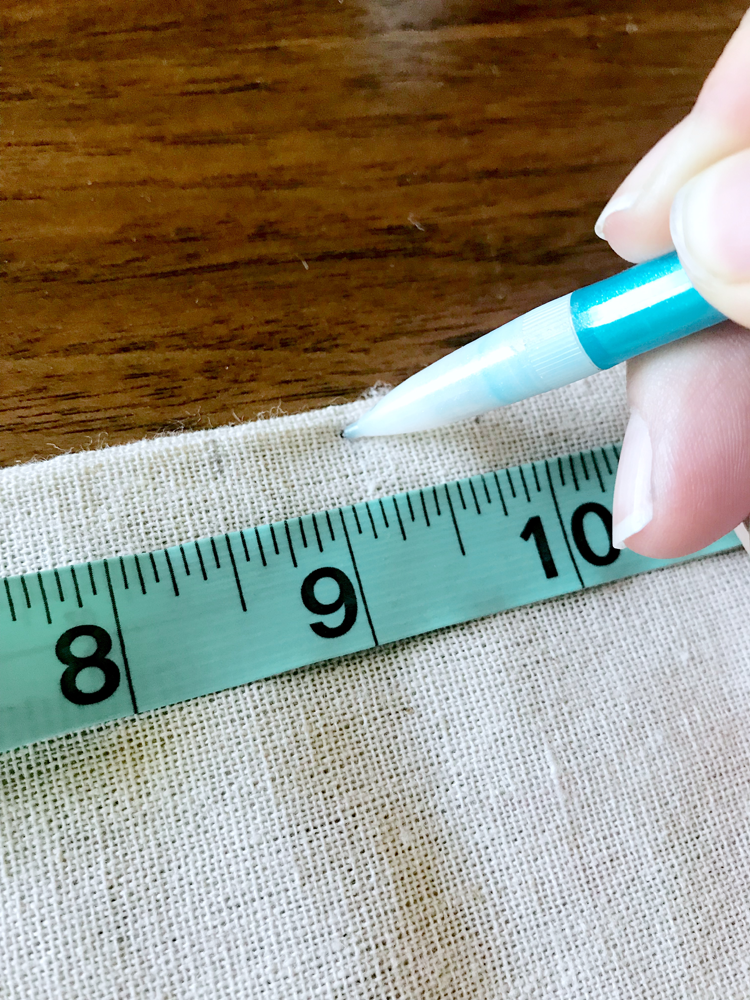
- Remove your pillow cover from the packaging and iron (this is optional but I preferred not to have wrinkles), find the middle and lightly mark it with a pencil (the covers I am using are 18-1/2″ so I marked them at 9-1/4″). Repeat measurement and marking on the bottom edge of the pillow cover.

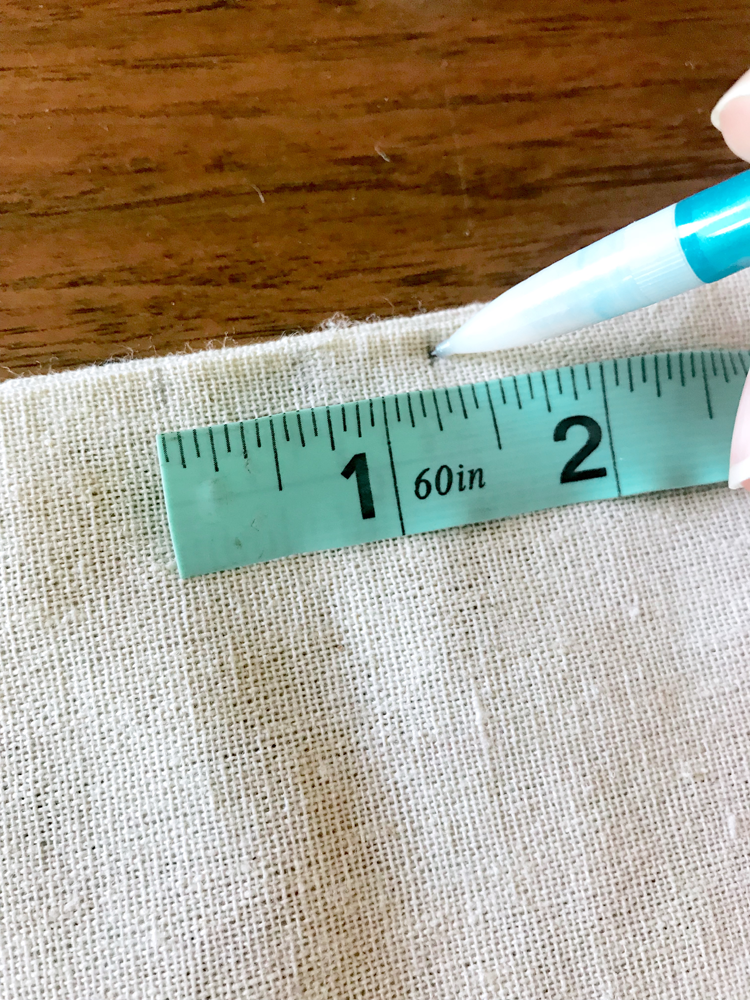
- Decide how wide you want your middle stripe to be, using your middle mark, lightly mark the edges of your stripe. I chose to make the width of my stripe 1-1/4″, so I marked 5/8″ to the left and right of my middle mark. Repeat on the bottom.

- Using your markings, line up your painters tape with your markings at the top and bottom of the cover. Press down firmly along the inner edge of the tape to insure that your paint doesn’t bleed under the tape.

- Then, place your cardboard or card stock inside the pillow cover to prevent paint bleeding through to the back.

- Next, take your fabric paint, and mix one part paint to two parts water.
- Lightly dip your paint brush into the paint then dab off the excess on a paper towel so that your brush barely has any paint on it, and begin dry brushing the paint on to your cover.

- Continue to dry brush the paint on until you have completely filled in your stripe. You can make your stripe as dark or as light as you want depending on how heavily you brush on the paint.

- Let your stripe dry to the touch before taping off your smaller stripes. Then measure, and mark your stripes (I wanted the stripes to be 3/8″ from the middle stripe and 3/8″ wide).
- Repeat steps 4-8.
- Follow the remaining instructions for your fabric paint. Mine says to allow the paint to air dry for 24 hours, then heat set it using a dry iron and pressing cloth.
- Finally, add your pillow inserts. I bought this 2-pack of decorative pillow inserts from Walmart for under $10!


Leave a Reply